


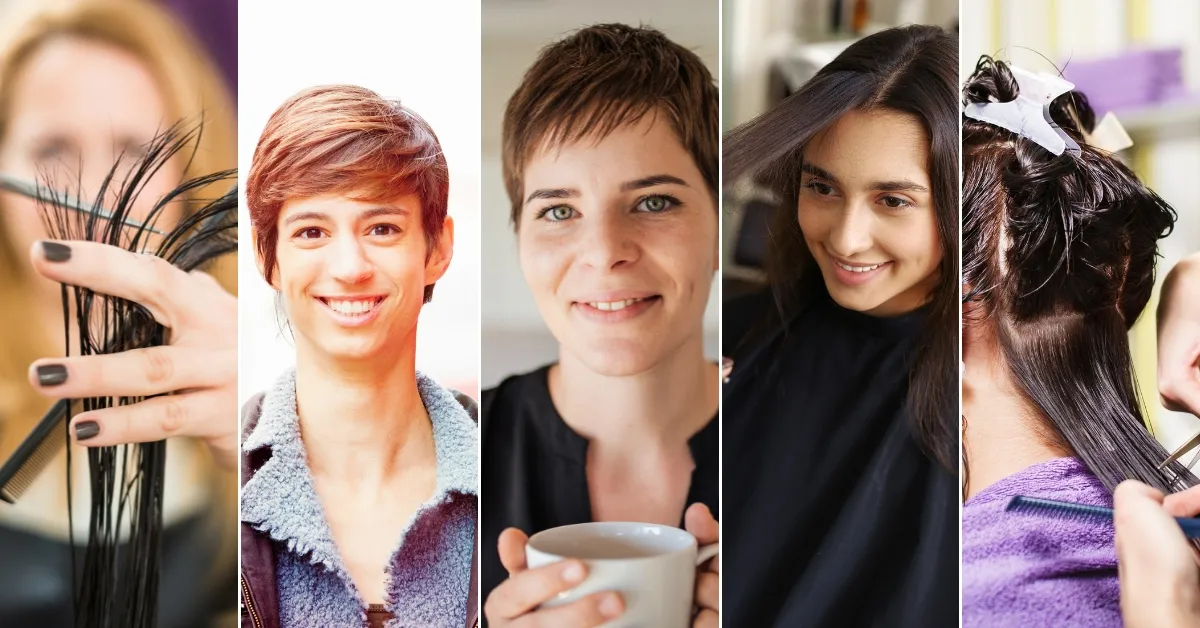
Pixie haircuts are timeless, bold, and perfect for women over 60 who want to embrace a chic, youthful look. Short haircuts like pixies bring instant energy, highlight facial features, and make styling effortless. In this post, I’ll walk you through 25 stunning pixie cuts that are versatile, modern, and flattering for every face shape and hair type.
Think of this as your friendly, step-by-step styling guide — simple language, practical tips, and clear instructions so you or your stylist can recreate these looks with confidence. Ready? Let’s dive in.
How to use this guide
- Pick a style: Choose a pixie closest to your hair texture and lifestyle.
- Check the tools and products: These are the basics for styling each cut.
- Follow the steps: Simple, sequential instructions to recreate the look.
- Try the tip: Each style comes with a quick trick to make it last longer or look more polished.
If you’re unsure, take a photo to your stylist — it helps communicate exactly what you want.
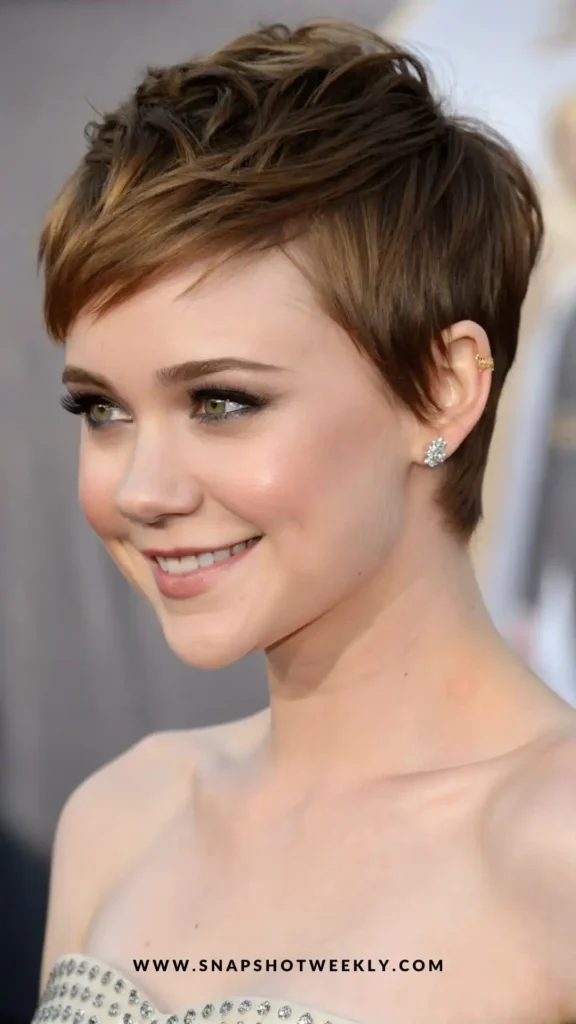
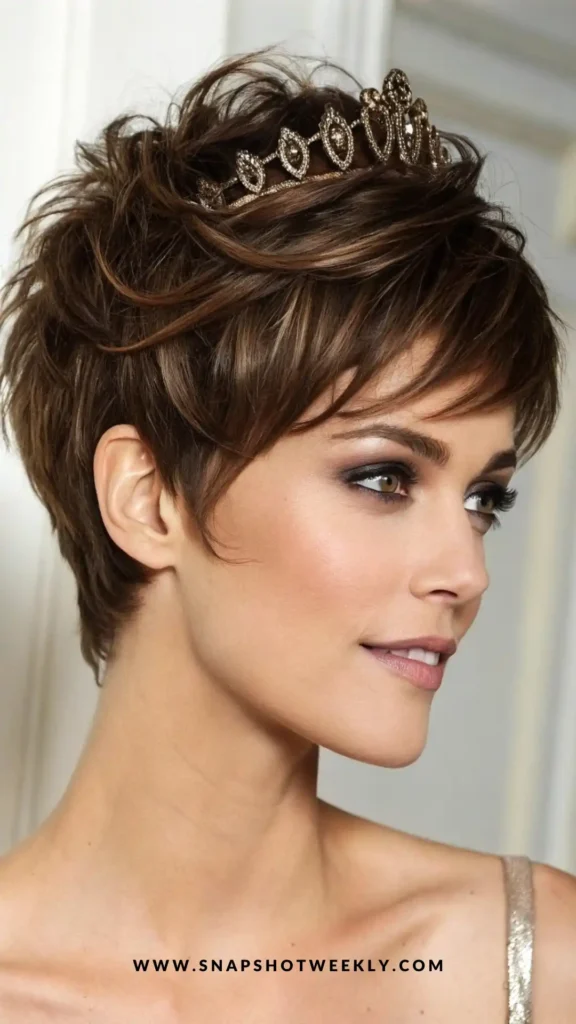
1) Layered Pixie with Side Swept Bangs
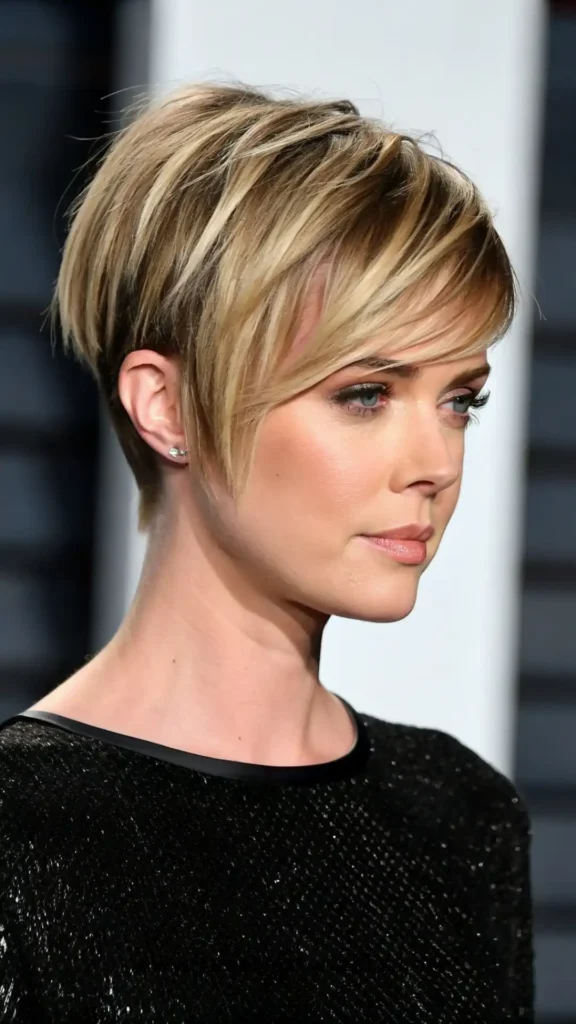
Why it works: Soft layers add volume to thin or straight hair, and side-swept bangs highlight the eyes and soften the face.
What you need: lightweight styling cream, round brush, hairdryer.
Steps:
- Wash and towel-dry hair gently.
- Apply a small amount of styling cream to damp hair.
- Blow-dry using a round brush, sweeping bangs to the side.
- Lightly tousle the layers with fingers for a natural finish.
Tip: Side bangs grow out beautifully — no need for frequent trims.
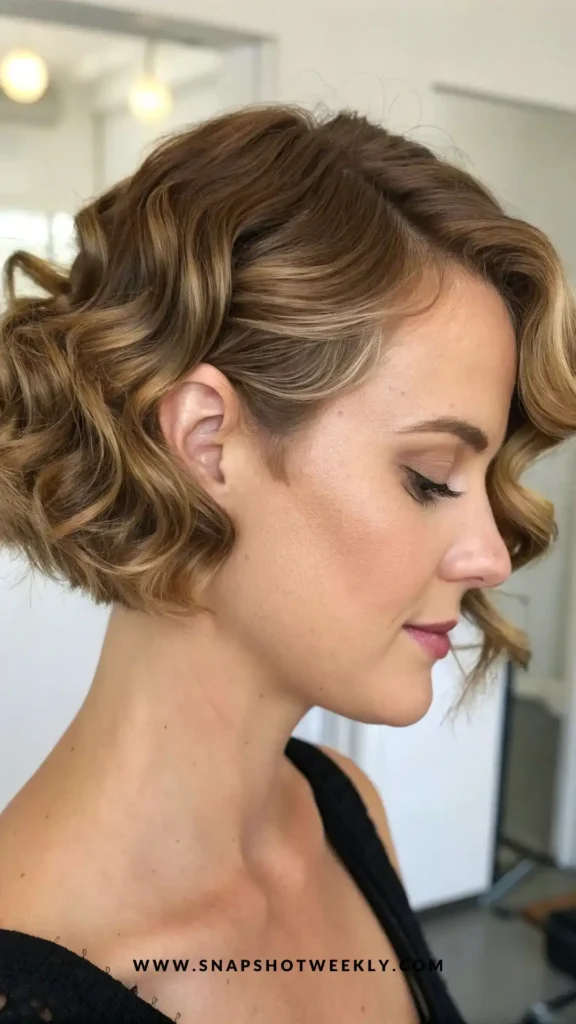
2) Soft Wavy Pixie Cut
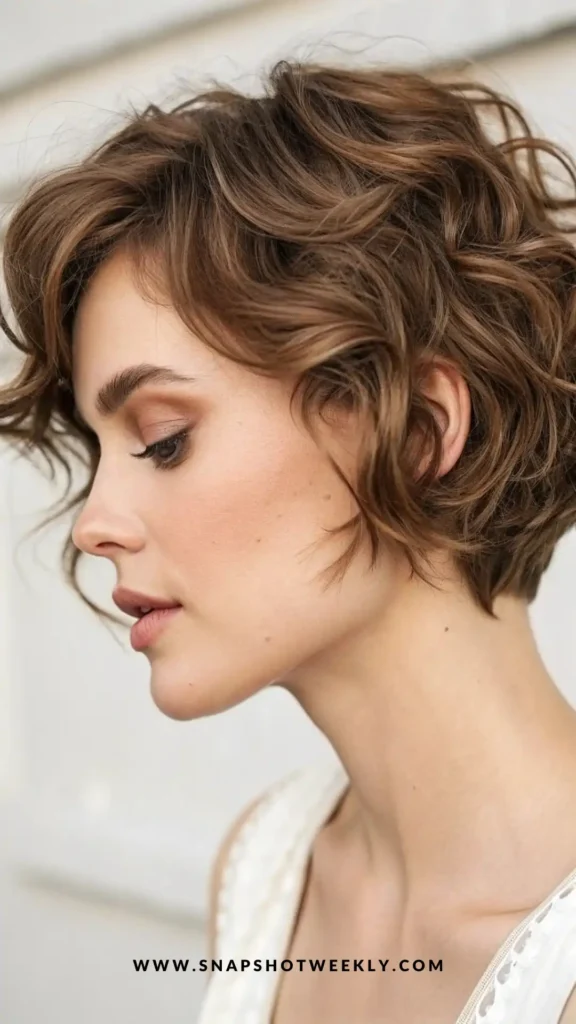
Why it works: Adds movement and body, perfect for natural waves or straight hair.
What you need: curling iron or flat iron, texturizing spray.
Steps:
- Section hair into small parts.
- Use a curling iron or flat iron to create soft waves.
- Spritz lightly with texturizing spray for volume.
- Finger-comb waves for a casual, effortless finish.
Tip: Use rollers overnight for soft waves without heat.
3) Tapered Pixie with Voluminous Top
Why it works: Creates height and fullness for fine or thinning hair.
What you need: volumizing mousse, comb, hairdryer.
Steps:
- Apply volumizing mousse to damp roots.
- Blow-dry the top section upward for extra lift.
- Taper the sides neatly with a comb and clipper.
Tip: Flip your hair forward before styling to maximize volume.
4) Sleek Pixie with an Undercut
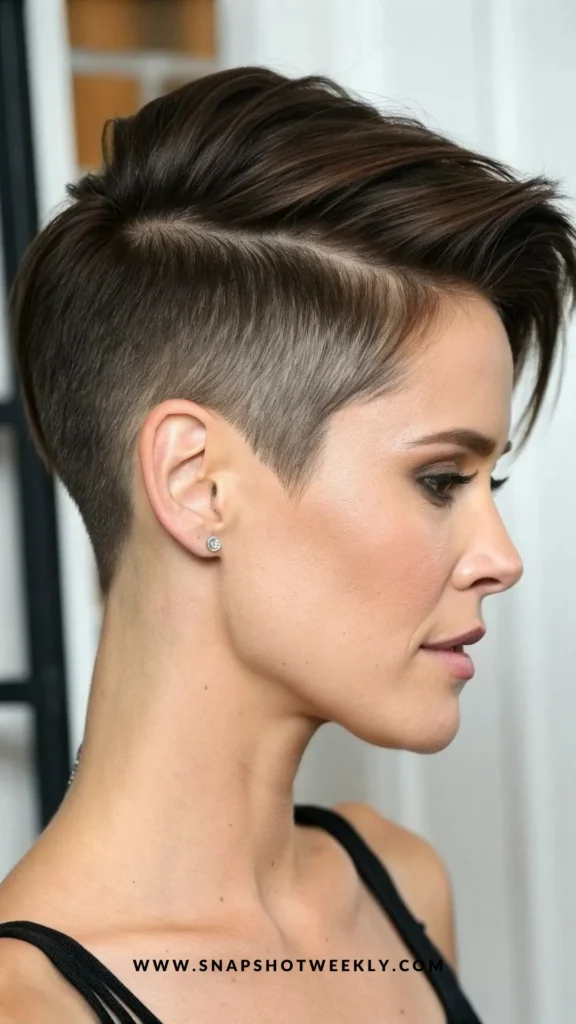
Why it works: Modern, edgy, and easy to maintain.
What you need: smoothing serum, flat iron.
Steps:
- Wash hair and towel dry.
- Apply smoothing serum to damp hair.
- Flat-iron the top for sleekness.
- Maintain undercut with trims every 4–6 weeks.
Tip: Keep the undercut subtle for a chic look that doesn’t scream edgy.
5) Classic Pixie with Feathered Layers

Why it works: Feathery layers add softness, volume, and movement to flat hair.
What you need: lightweight mousse, hairdryer, round brush.
Steps:
- Apply mousse from roots to tips.
- Blow-dry using a round brush, lifting layers at the crown.
- Finger-comb to separate layers.
Tip: Feathered layers look best with a natural, slightly messy finish.
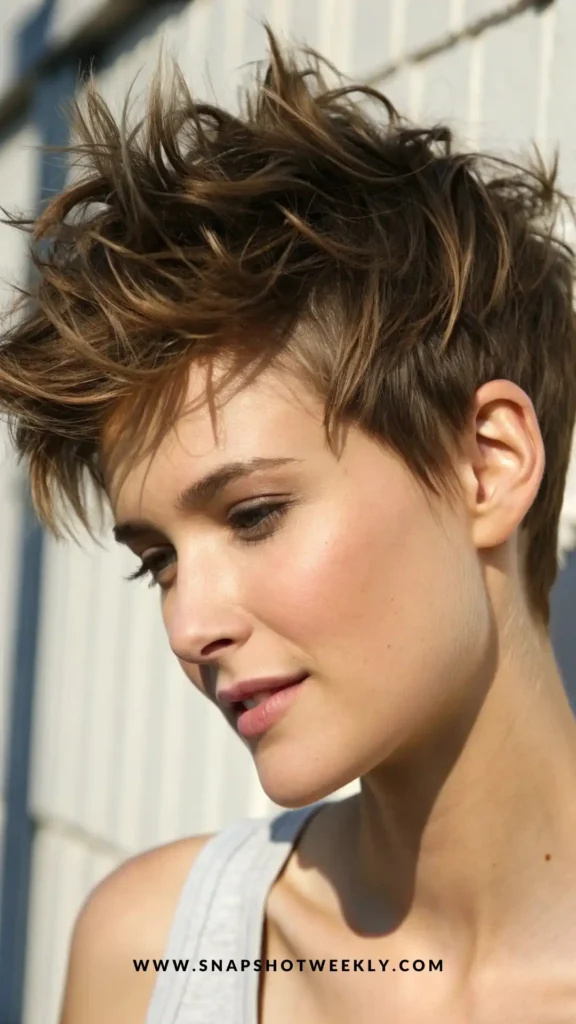
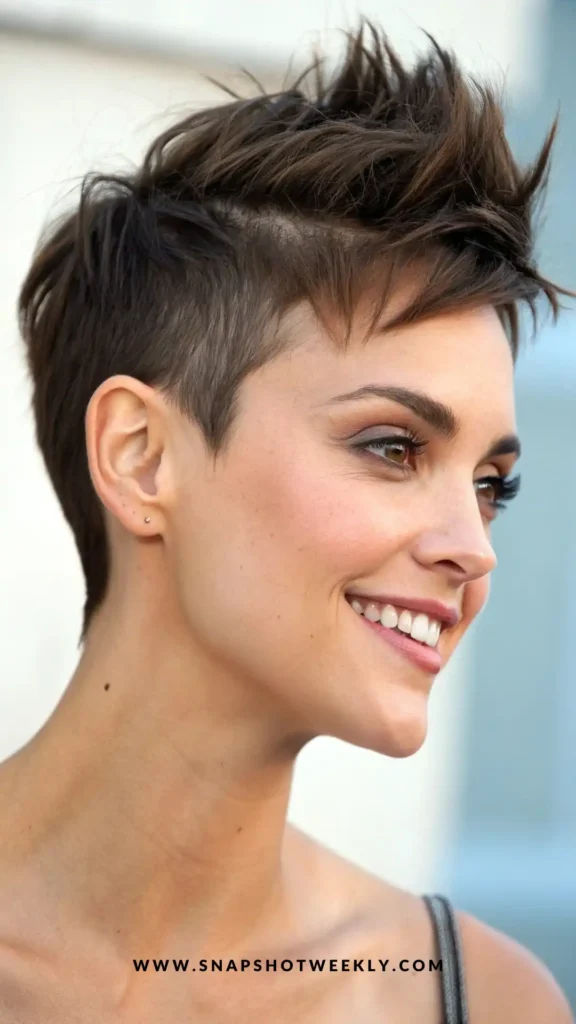
6) Edgy Spiky Pixie Cut
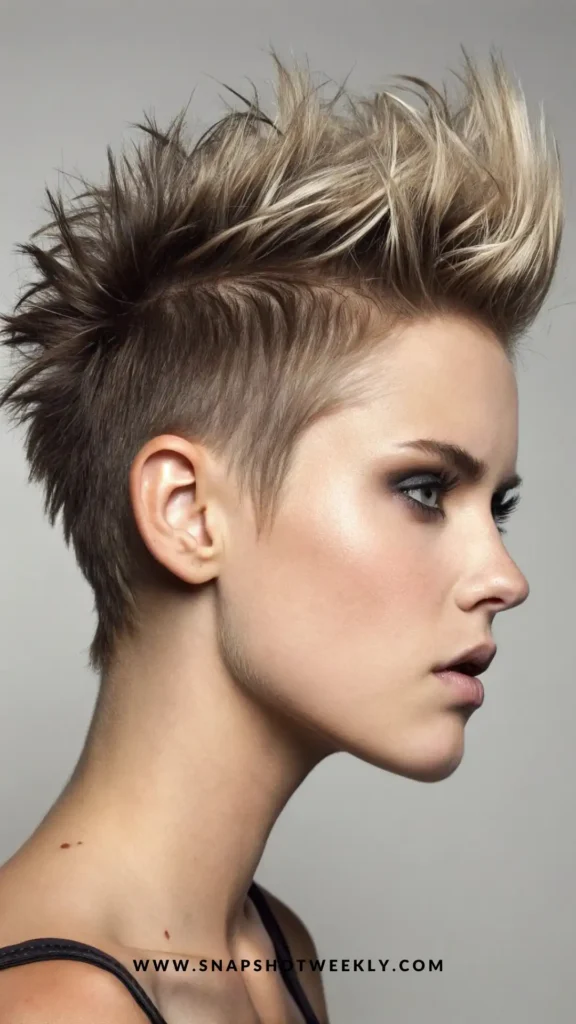
Why it works: Adds instant personality and texture for straight or thick hair.
What you need: strong-hold gel or pomade.
Steps:
- Apply gel to damp hair.
- Style spikes by pinching small sections with fingers.
- Set with light hairspray if needed.
Tip: Keep bangs short to balance the spikes.
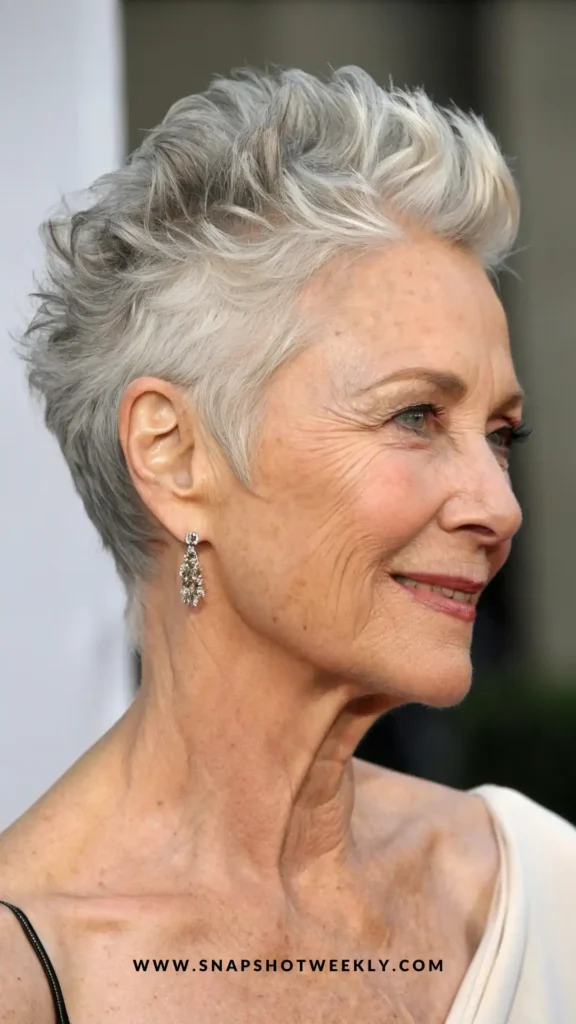
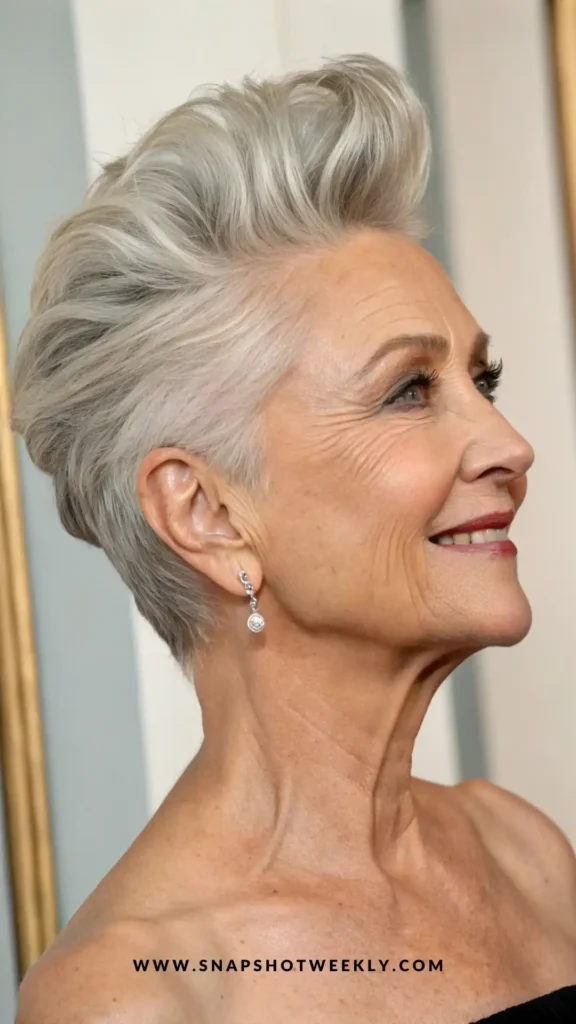
7) Pixie with Swept-Back Bangs
Why it works: Sweeping bangs back gives a fuller, youthful effect.
What you need: volumizing mousse, round brush, hairdryer.
Steps:
- Apply mousse to damp hair.
- Blow-dry bangs back while lifting at the roots.
- Smooth sides for a polished look.
Tip: Use a little shine serum on ends for elegance.
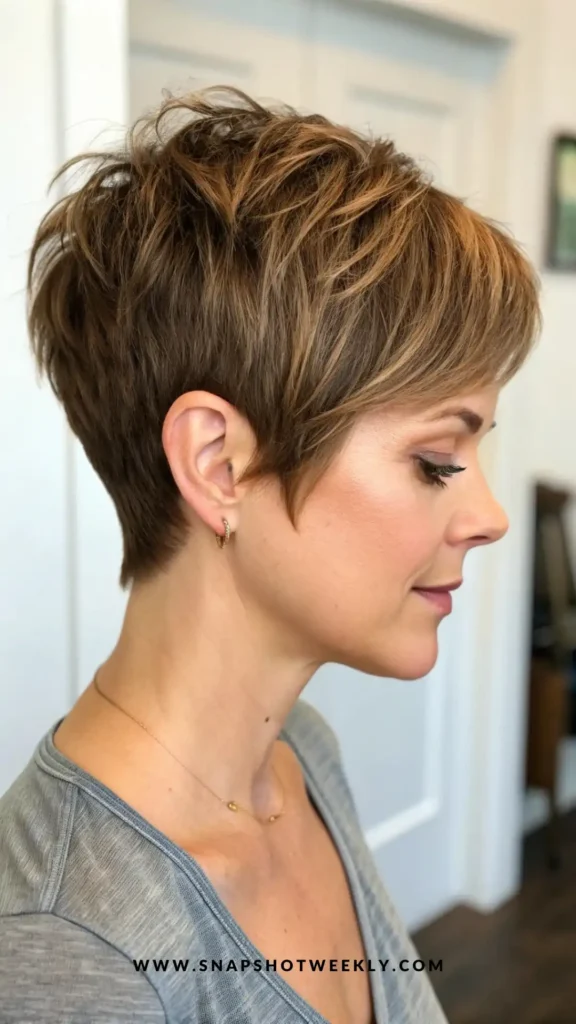
8) Pixie Cut with Textured Top
Why it works: Perfect for thick hair; layers reduce bulk while creating movement.
What you need: texturizing spray, blow-dryer.
Steps:
- Spray texturizing product on damp hair.
- Blow-dry while tousling the top section with fingers.
- Use a little wax to define texture.
Tip: Works well for casual, low-maintenance days.
9) Pixie with Razor Cut Layers
Why it works: Gives limp hair volume and a slightly modern edge.
What you need: razor comb (stylist), styling cream.
Steps:
- Ask your stylist to cut using a razor for sharp layering.
- Apply styling cream and tousle layers with fingers.
- Finish with light hairspray.
Tip: Razor layers grow out naturally without losing shape.
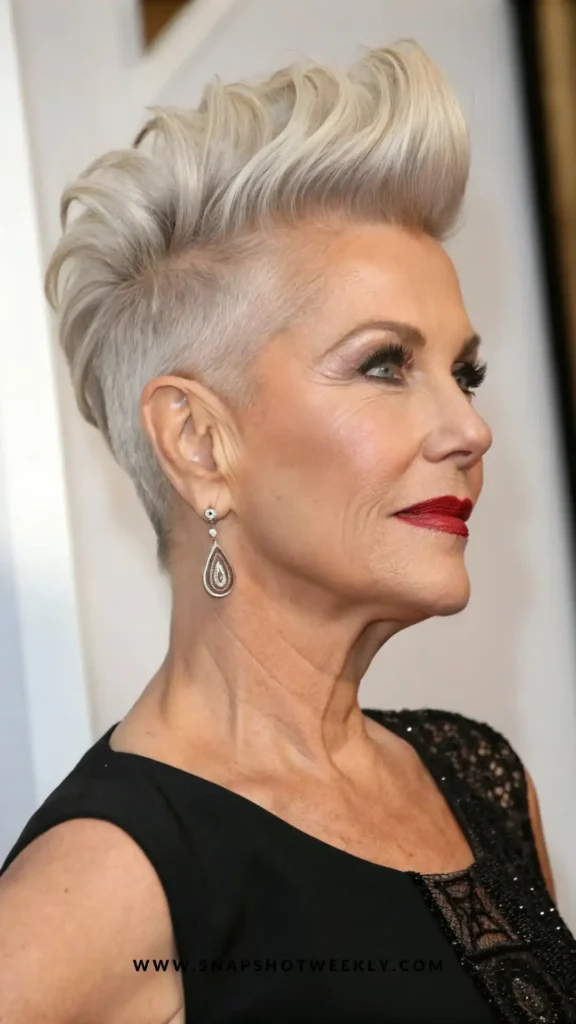
10) Elegant Swept-Back Pixie
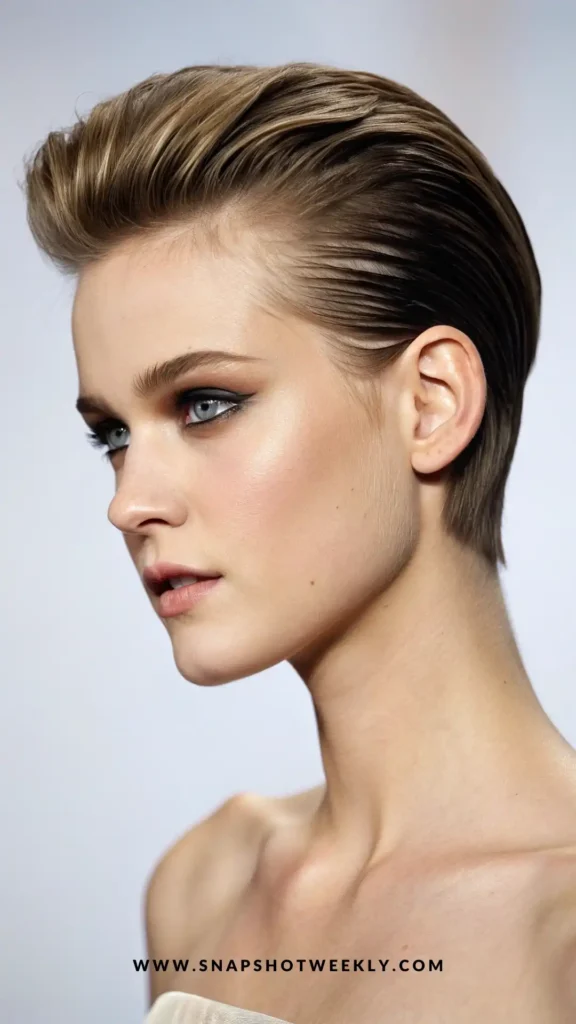
Why it works: Classic, bold, and sophisticated with effortless glamour.
What you need: volumizing mousse, comb, hairdryer.
Steps:
- Apply mousse to damp hair.
- Comb and blow-dry hair back while lifting the crown.
- Smooth sides for elegance.
Tip: Perfect for formal events or photoshoots.
11) Side-Parted Pixie on Soft Waves
Why it works: Side part adds romantic, contemporary charm.
What you need: curling iron, lightweight spray.
Steps:
- Curl sections softly with a curling iron.
- Part hair to one side.
- Lightly comb to blend waves naturally.
Tip: Soft waves highlight facial features beautifully.
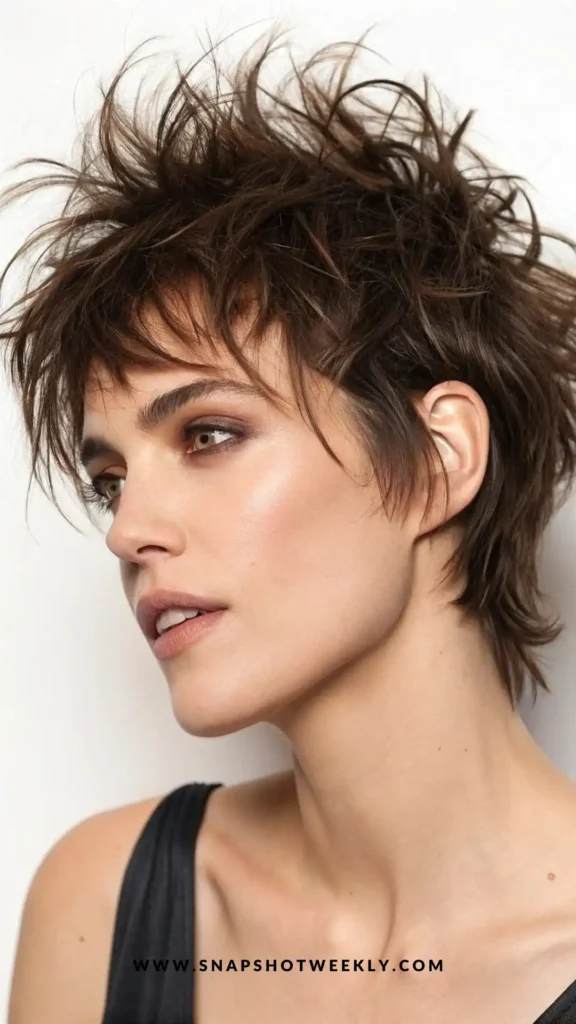
12) Choppy Pixie with a Tousled Top
Why it works: Edgy, casual, and effortless.
What you need: light-hold styling cream, texturizer.
Steps:
- Apply cream to damp hair.
- Tousle top with fingers for texture.
- Add choppy layers with stylist guidance.
Tip: Perfect for weekends or casual outings.
13) Pixie with Graduated Layers
Why it works: Smooth, low-key style with subtle elegance.
What you need: mousse, comb, hairdryer.
Steps:
- Apply mousse to damp hair.
- Blow-dry hair in layers, following natural graduation.
- Finger-comb ends for softness.
Tip: Ideal for fine or thin hair needing subtle body.
14) Pixie Cut with Crown Volume
Why it works: Adds height and fullness, great for thinning hair.
What you need: root-lifting spray, round brush.
Steps:
- Apply root lift spray at crown.
- Blow-dry while lifting roots with brush.
- Smooth sides to balance shape.
Tip: Pair with soft side bangs for extra facial framing.
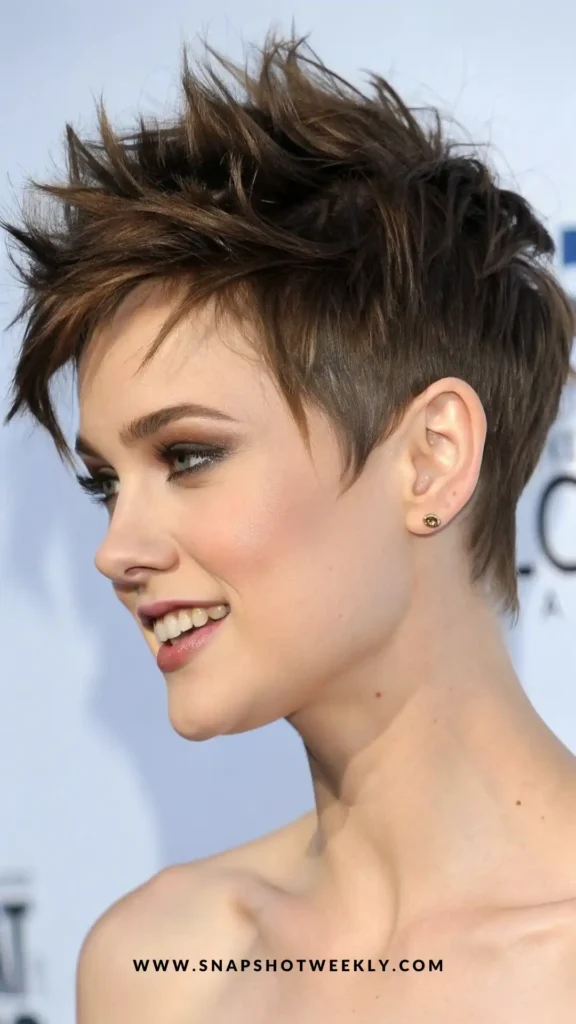
15) Messy Pixie with Jagged Bangs
Why it works: Playful, youthful, and full of character.
What you need: light styling wax or pomade.
Steps:
- Apply wax to damp hair.
- Tousle hair with fingers, focusing on bangs.
- Adjust jagged edges for a contemporary look.
Tip: Great for casual, fun days or festivals.
16) Pixie with Angular Fringe
Why it works: Modern, soft contrast with longer top layers.
What you need: styling cream, round brush.
Steps:
- Blow-dry top while brushing fringe angularly.
- Smooth shorter layers underneath.
- Finger-tame any stray strands.
Tip: Angular fringe enhances cheekbones beautifully.
17) Soft Pixie with a Curly Top
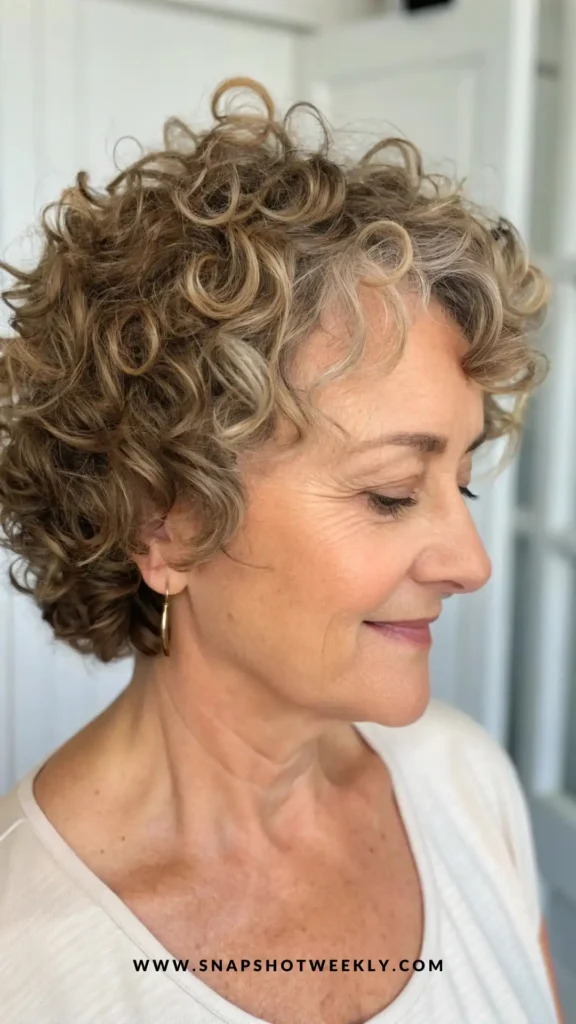
Why it works: Perfect for natural curls or wavy hair.
What you need: curl cream, diffuser.
Steps:
- Apply curl cream to damp hair.
- Diffuse gently while scrunching curls at the top.
- Keep sides tapered and neat.
Tip: Adds bounce and fun movement to classic pixie.
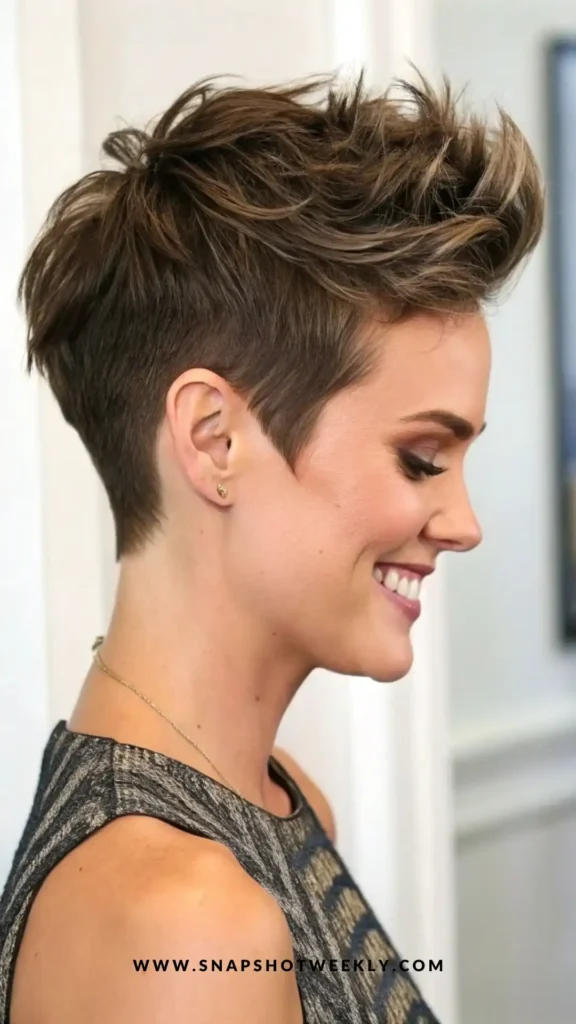
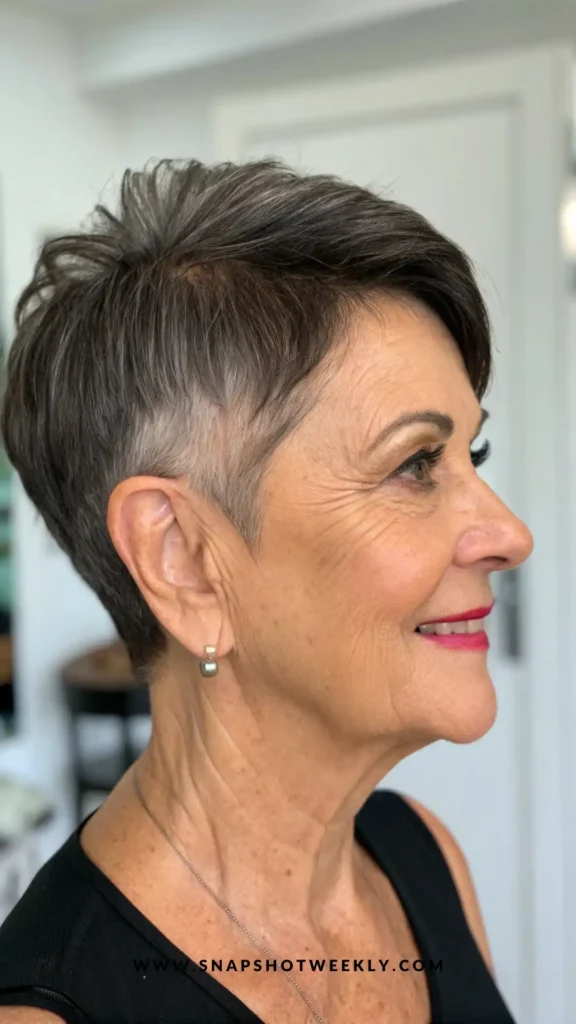
18) Pixie with Tapered Nape
Why it works: Sleek, clean look with top volume.
What you need: smoothing serum, hairdryer.
Steps:
- Taper nape with stylist.
- Blow-dry top with volume.
- Smooth edges for polished effect.
Tip: Creates a youthful jawline appearance.
19) Voluminous Rounded Pixie
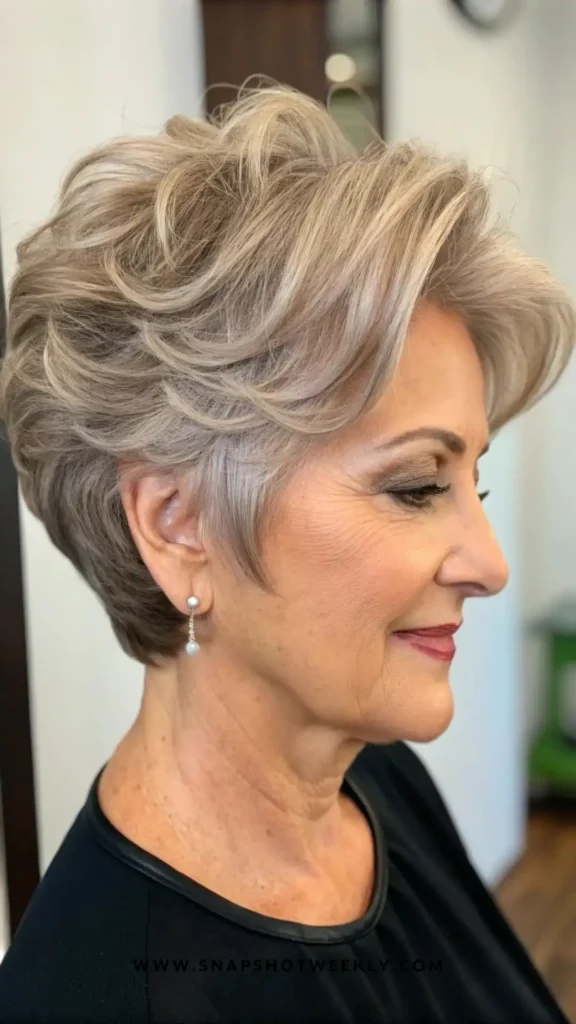
Why it works: Soft, versatile style with full crown.
What you need: volumizer, round brush, styling cream.
Steps:
- Apply volumizer at roots.
- Blow-dry using round brush for rounded silhouette.
- Finger-comb for softness.
Tip: Works for all hair textures and face shapes.
20) Pixie with Flowing Side Layers
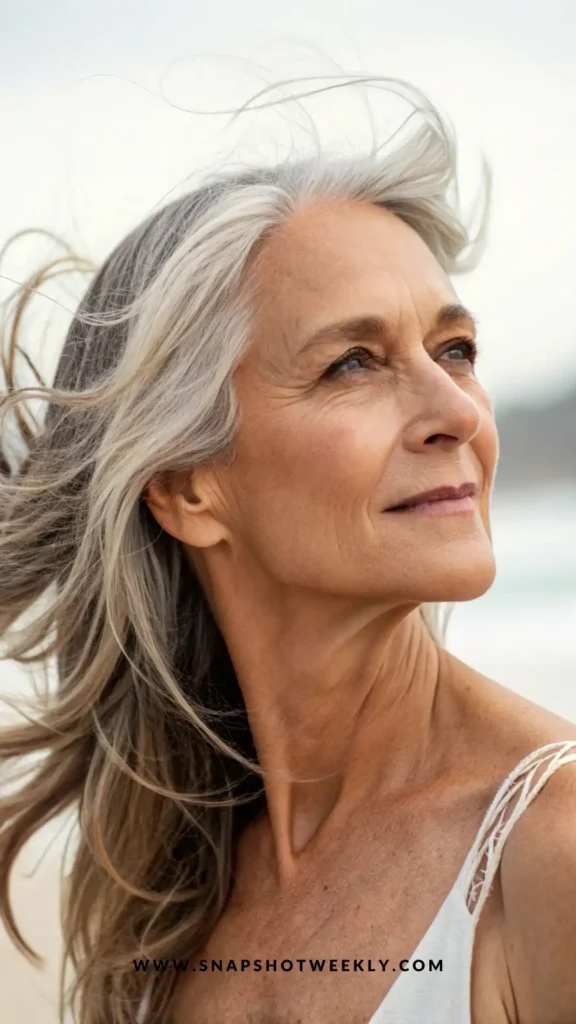
Why it works: Subtle asymmetry adds movement and style.
What you need: light styling cream, blow-dryer.
Steps:
- Apply cream to damp hair.
- Blow-dry sides downward, letting layers flow.
- Tousle top for volume.
Tip: Enhances thin hair without heavy styling.
21) Pixie with Sleek Tucked Side
Why it works: Clean, polished, soft sophistication.
What you need: smoothing serum, round brush.
Steps:
- Apply serum to damp hair.
- Blow-dry top and tuck side behind ear.
- Smooth any flyaways.
Tip: Perfect for day-to-day classy looks.
22) Bold Pixie with Sculpted Top
Why it works: Adds structure and height for flat hair.
What you need: light gel, round brush.
Steps:
- Sculpt top with brush and gel.
- Keep bottom layers short and neat.
- Adjust top volume as desired.
Tip: Ideal for statement, confident looks.
23) Modern Pixie with Mini Quiff

Why it works: Fun, bold, edgy with texture.
What you need: styling mousse, hairdryer.
Steps:
- Apply mousse to damp hair.
- Blow-dry top into a small quiff.
- Smooth sides and back.
Tip: Mini quiff adds lift without being over-the-top.
24) Pixie with Wispy Sideburns

Why it works: Light, airy layers with a youthful touch.
What you need: styling cream, comb.
Steps:
- Taper sideburns slightly.
- Style top for volume.
- Finger-comb to soften look.
Tip: Wispy sideburns make face appear slimmer and fresher.
25) Pixie with Elegant Tapered Sides
Why it works: Classic yet modern, easy to style.
What you need: smoothing serum, round brush.
Steps:
- Taper sides neatly.
- Blow-dry top with gentle lift.
- Smooth edges for polished finish.
Tip: Style in seconds, perfect for busy mornings.
Pixie cuts are not just a haircut — they’re a statement. They bring energy, elegance, and confidence to women over 60. Whether you prefer sleek sophistication, playful waves, or edgy spikes, there’s a pixie cut to match your personality.
Start small — a subtle side-swept bang or a few layers can make a big difference before committing to a bold chop. Remember, healthy hair, gentle care, and regular trims keep your pixie looking fresh and vibrant every day.
Follow these tips, bring your favorite photo to your stylist, and enjoy a hairstyle that proves age really is just a number.