


Curly hair has a special kind of magic — it bounces, it moves, and when cut or styled to frame your face it can highlight your eyes, cheekbones, and smile. In this post I’ll walk you through 15 face-framing curly looks that are flattering, wearable, and easy to explain step-by-step. For each style I give a short description, a simple “what you need” list, step-by-step styling directions, and one quick tip to make the look easier to keep.
Think of this like a friendly styling booklet — plain language, short steps, and helpful tips so you (or your stylist) can turn the idea into real hair. Ready? Let’s dive in.
How to use this guide
- Look at each style and pick the one closest to your curl type (tight, bouncy, loose).
- Check the “what you need” — these are the basic tools and products.
- Follow the short steps — do them in order.
- Try the tip — it’s a small trick that makes a big difference.
If you’re unsure, bring a photo to your stylist and show them the step you like.
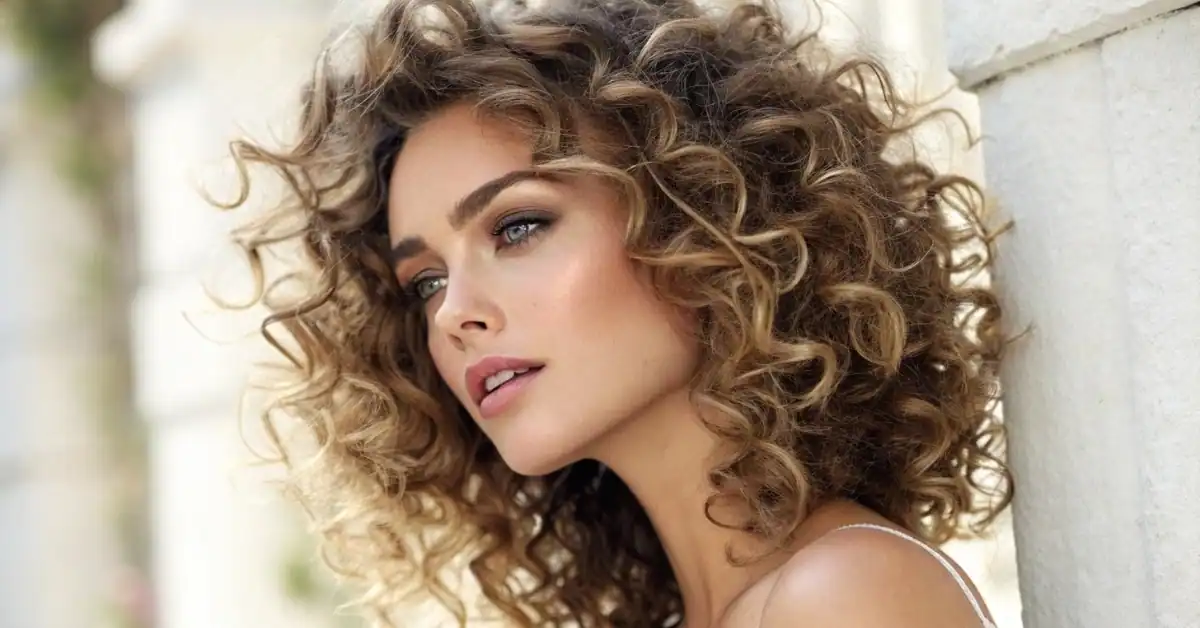
#1 Voluminous Copper Curls with Face-Framing Bangs
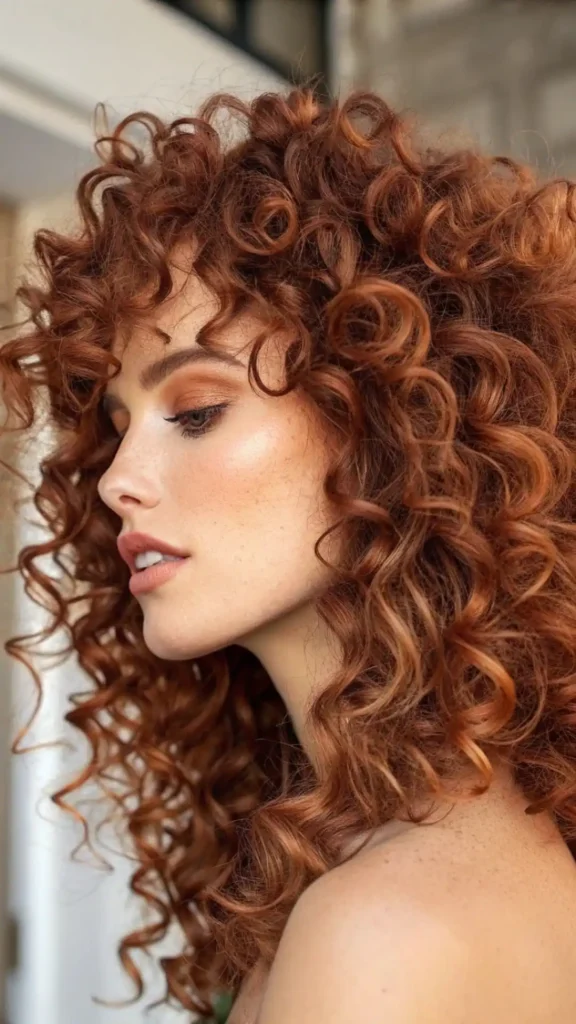
Why it works: Warm copper tones plus soft bangs draw attention to the eyes and cheekbones while keeping big, lively volume.
What you need: curl-friendly shampoo, lightweight curl cream, diffuser, wide-tooth comb, trimming visit to stylist for bangs.
Steps:
- Wash with a curl-moisturizing shampoo and lightly towel dry.
- Apply a golf-ball amount of curl cream from mid-lengths to ends.
- Diffuse on low heat while cupping curls to boost volume at the roots.
- Ask your stylist for soft, airy bangs that fall across the forehead — not heavy.
Tip: Use a few drops of shine oil on the ends after styling to boost color glow without weighing curls down.
#2 Natural Brunette Curls with Subtle Highlights
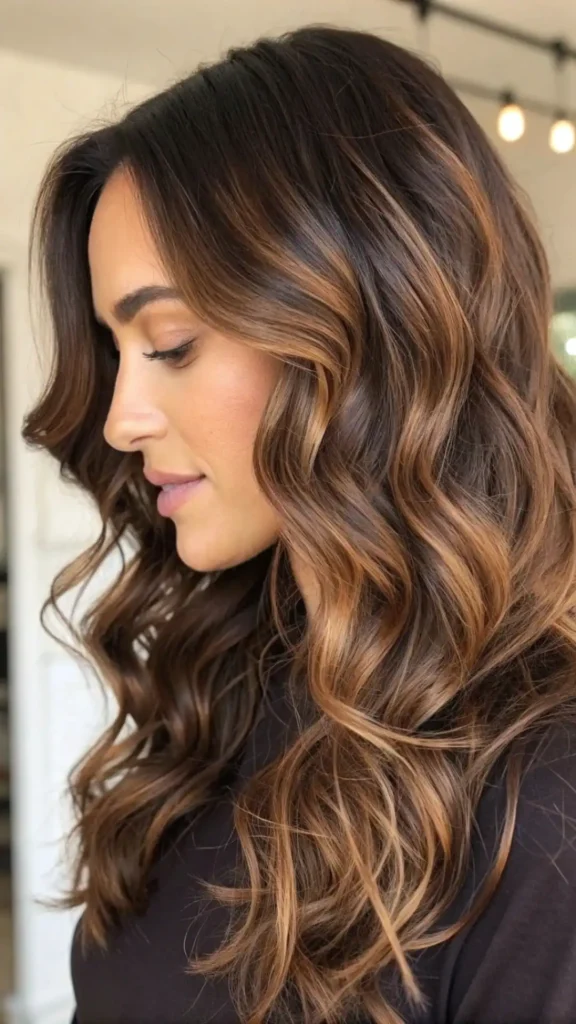
Why it works: Small caramel highlights give depth and make curls look multi-dimensional without a full color commitment.
What you need: color-safe conditioner, leave-in detangler, small amount of curl gel, hair dryer with diffuser.
Steps:
- Condition well to keep dark curls glossy.
- Work a leave-in through damp hair to protect and detangle.
- Lightly scrunch in a small amount of gel for definition.
- Diffuse gently or air-dry while scrunching to keep bounce.
Tip: Highlights look best when they’re just a touch lighter than your base color — ask for a “sun-kissed” effect.
#3 Bouncy Mid-Length Curly Layers with Side-Swept Bangs
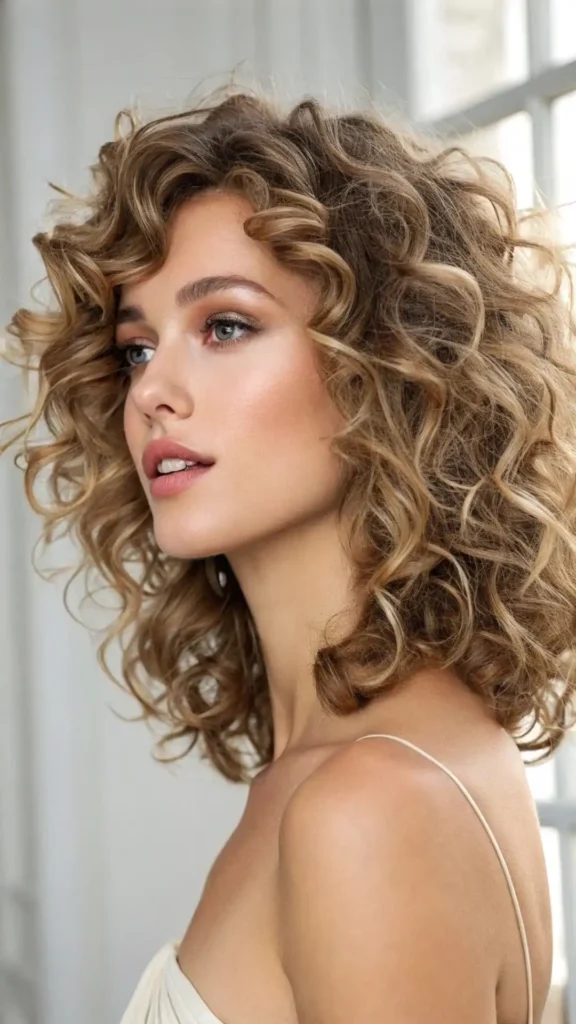
Why it works: Layers give movement; a side sweep softens the face and feels modern.
What you need: texturizing scissors (stylist), curl mousse, microfiber towel, diffuser.
Steps:
- Get mid-length layers from a stylist to remove bulk and add swing.
- On damp hair, apply mousse through roots to ends and finger-scrunch.
- Create the side sweep by training your bangs while drying — clip into place until set.
- Finish with a light mist to hold shape.
Tip: Sleep on a silk pillowcase to keep the side sweep from flattening overnight.
#4 Curly Afro with Defined Ringlets and Volume

Why it works: Tight, well-defined ringlets plus a rounded shape create attention-grabbing volume and balance.
What you need: sulfate-free cleanser, deep conditioner, curl-defining cream, wide pick.
Steps:
- Deep-condition weekly to keep tight curls hydrated.
- Apply curl cream section by section and use “raking” to coat each curl.
- Let hair air-dry or diffuse gently — avoid touching while it sets.
- Use a wide pick at the roots to lift and shape the afro without breaking curl definition.
Tip: Keep the perimeter slightly tapered so the shape frames your face instead of covering it.
#5 Tousled Curly Shag with Wispy Bangs
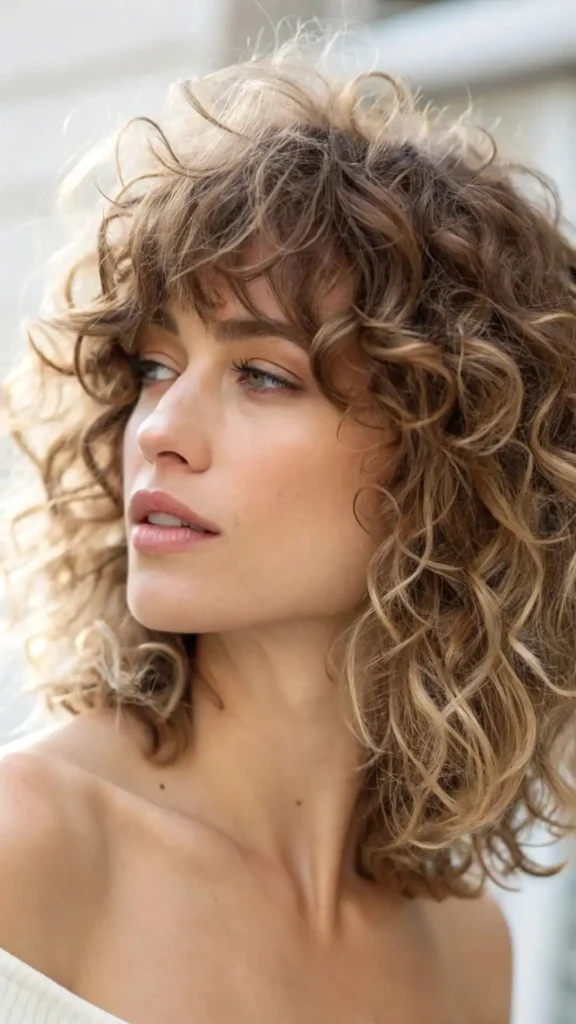
Why it works: The shag is effortless and edgy — layers and wispy bangs give a soft, lived-in look.
What you need: sea salt spray, light gel, scissors (stylist), curling refresher spray.
Steps:
- Ask your stylist for choppy, staggered layers and thin bangs.
- Spray sea salt spray on damp hair and scrunch for texture.
- Diffuse or air-dry, then touch bangs with fingers to keep them wispy.
- Use a tiny bit of gel to finger-tame any frizz.
Tip: The shag looks best a few days after washing — embrace the slightly undone texture.
#6 Rich Auburn Curls with Classic Center Part
Why it works: A center part brings symmetry and makes curls look polished and timeless.
What you need: color-protect shampoo, smoothing cream, diffuser, light hairspray.
Steps:
- Color care is key — use products for preserving auburn tones.
- Create a clean center part on damp hair and apply smoothing cream through lengths.
- Diffuse with gentle downward motion to keep the part neat.
- Finish with a soft hold spray to tame flyaways.
Tip: If your part wants to shift, use two small clips at the hairline while drying to train it.
#7 Playful Curly Fringe with Compact Volume
Why it works: A curly fringe instantly frames the face and feels youthful without heavy styling.
What you need: curl cream, mini diffuser or blow dryer on low, small round brush (for styling bangs).
Steps:
- Keep fringe slightly shorter than your other lengths so it sits forward.
- On damp bangs, scrunch in cream and use a mini diffuser to set their shape.
- Blend the fringe into the side curls with your fingers.
Tip: Trim fringe often — curly bangs grow unpredictably and a small snip keeps them framing right.
#8 Long Cascading Curls with Subtle Ombre
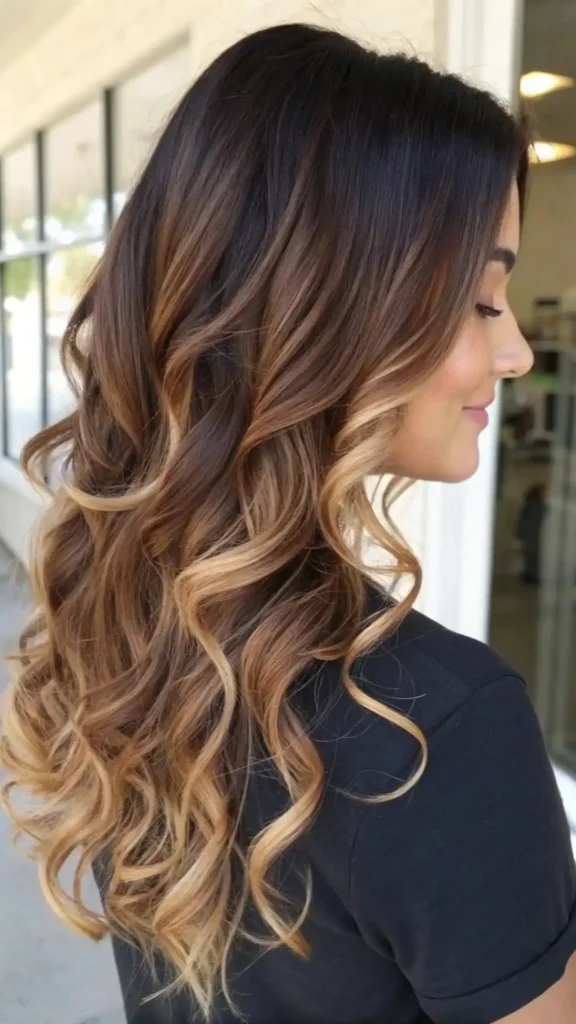
Why it works: Long curls plus a gentle ombre create visual flow and a graceful face frame.
What you need: color-safe conditioner, curl butter, wide tooth comb, satin wrap for sleeping.
Steps:
- Keep long curls hydrated — use a rich conditioner and occasional hair mask.
- Apply curl butter sparingly to define and reduce frizz.
- Let curls fall naturally; place a few face-framing sections slightly forward.
- Sleep with a loose satin wrap to preserve the ombre’s shine.
Tip: Ask for gradual, soft color transitions — harsh lines distract from natural curl movement.
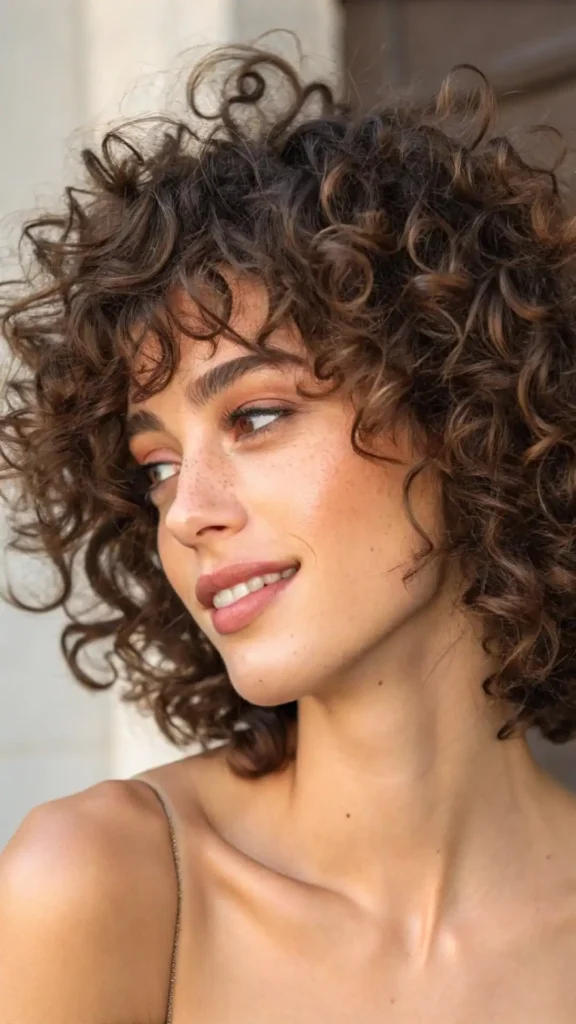
#9 Fluffy Curly Bob with Full Fringe
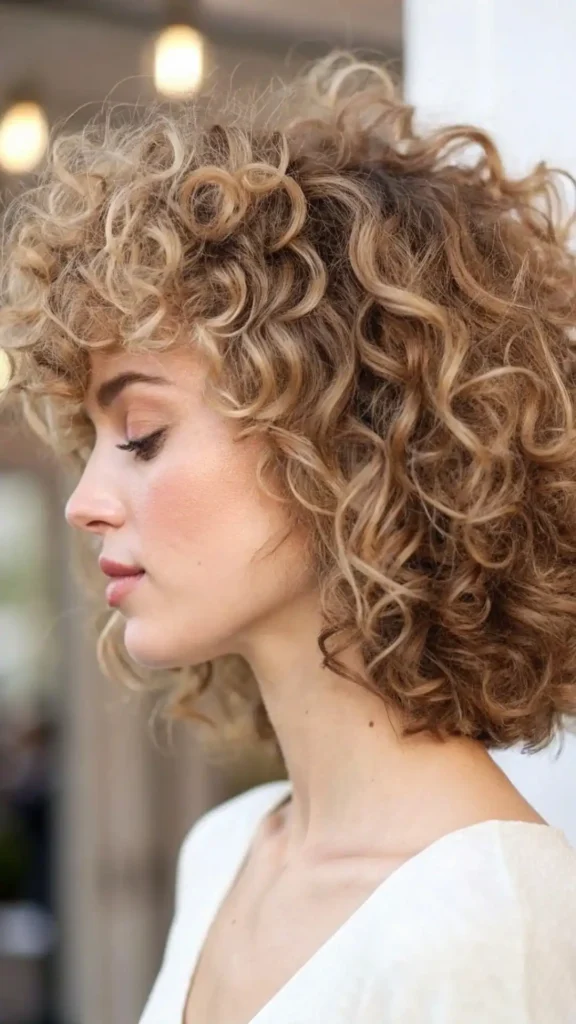
Why it works: Short bob plus a full fringe adds personality while keeping styling quick.
What you need: curl mousse, small diffuser, styling cream for definition.
Steps:
- Cut should sit around the jaw or shoulder — ask for shape that hugs the face.
- Use mousse on damp hair and diffuse to boost the fluffy texture.
- Lightly separate curls at the ends with fingers for softness.
Tip: A bob gains character as it dries — don’t overbrush; finger separation keeps it fresh.
#10 Midnight Black Defined Curls with Side Layers
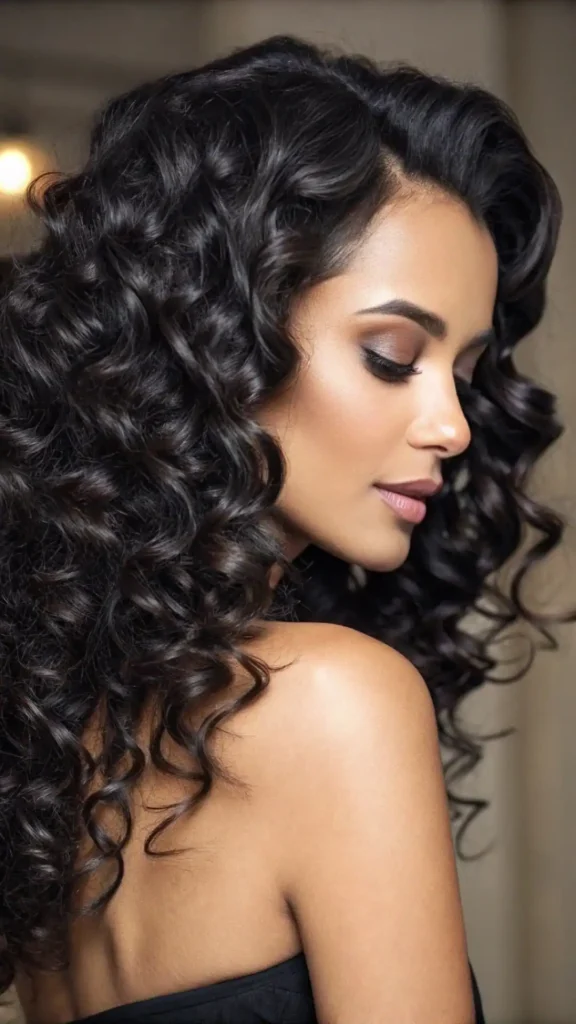
Why it works: Dark, glossy curls with subtle side layers create a dramatic, elegant frame.
What you need: shine serum, curl defining lotion, heat protectant (if using heat).
Steps:
- After washing, apply a defining lotion to enhance curl pattern.
- Use a low heat diffuser or let air dry to keep shine.
- Add a small dab of shine serum to the ends and layers for a glossy finish.
Tip: Use cool air for the final diffuser blast — it seals the hair cuticle and ups the shine.
#11 Golden Chestnut Curls with Voluminous Layers
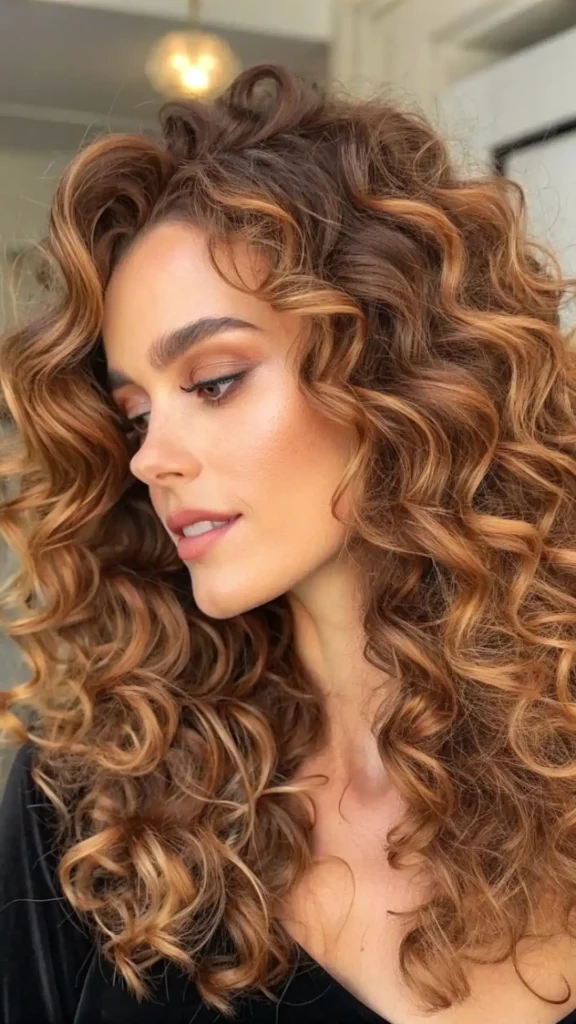
Why it works: Warm chestnut tones and lifted layers give a glowing, face-brightening shape.
What you need: volumizing spray, curl cream, large barrel diffuser.
Steps:
- Layer strategically to boost volume around the cheeks and crown.
- Spray volumizer at roots when damp, then apply curl cream through lengths.
- Diffuse while flipping the head to create lift.
Tip: For extra fullness, gently fluff the roots with fingers once hair is dry.
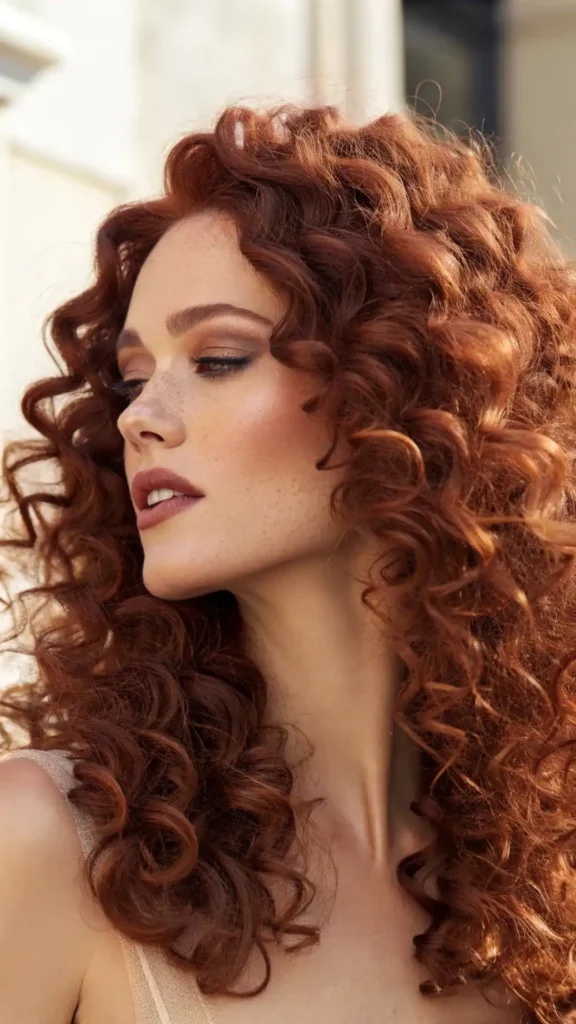
#12 Fiery Red Cascading Curls with Soft Fringe
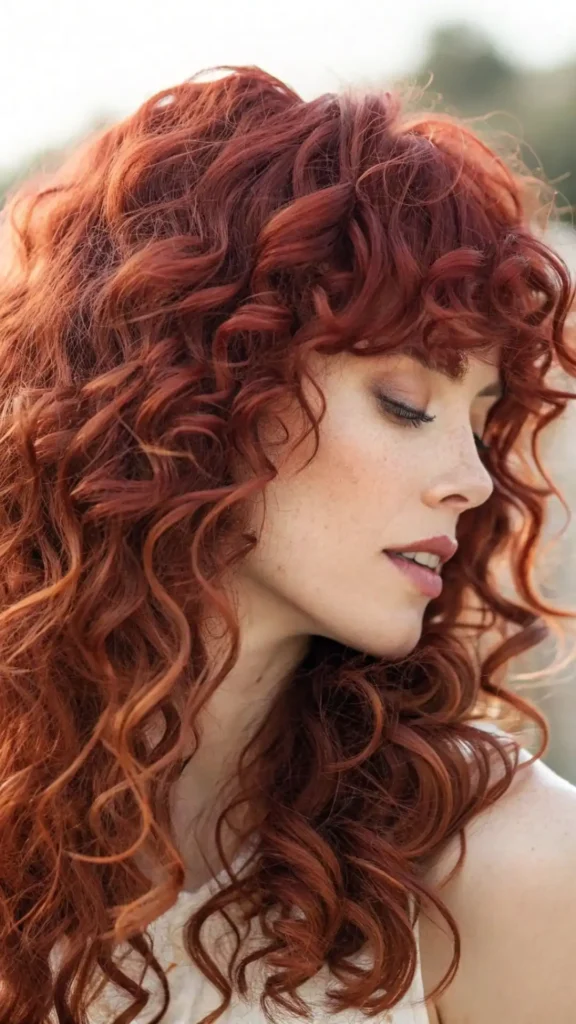
Why it works: A bold red hue and a soft fringe make a statement while keeping the look romantic.
What you need: color-safe products for reds, curl enhancer, leave-in conditioner.
Steps:
- Red fades faster — rinse with cool water and use color booster products.
- Define curls with a curl enhancer and finger-scrunch.
- Keep a short, soft fringe that blends into the cascade for a delicate frame.
Tip: Protect red hair from heavy sun exposure to keep the color vivid longer.
#13 Radiant Black Curls with Natural Texture
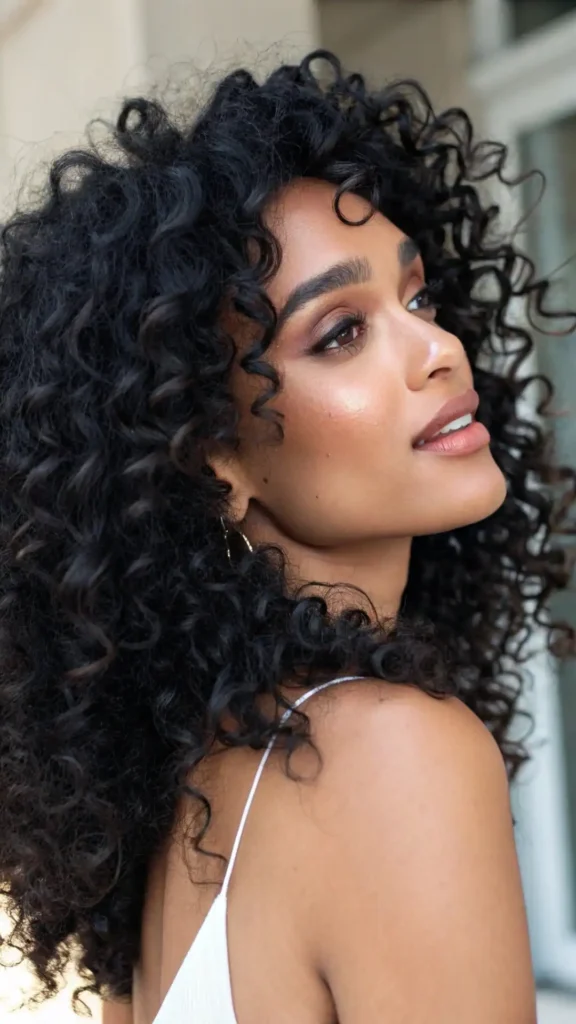
Why it works: Letting natural texture shine is the easiest way to frame the face beautifully.
What you need: moisturizing cleanser, light hold gel or cream, silk pillowcase.
Steps:
- Embrace your natural pattern — hydrate well, don’t overload with heavy products.
- Apply a small amount of cream or gel to encourage definition.
- Allow to air dry or diffuse on low.
Tip: Minimal product is often the best product — you want movement, not stiffness.
#14 High-Volume Curly Crown with Fluffy Layers
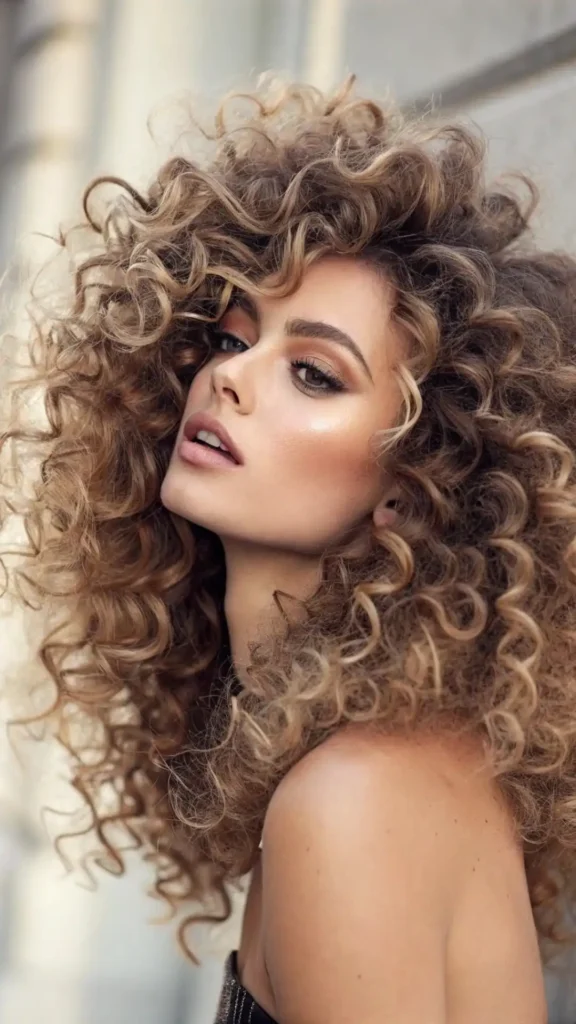
Why it works: A big crown of curls frames the face like a halo — bold and confident.
What you need: root lift spray, wide pick, curl shaping cream.
Steps:
- Use root lift on damp hair and diffuse while lifting at the roots.
- Shape layers so the crown gets height while sides softly frame the cheeks.
- Use a wide pick at the roots for final shaping.
Tip: Keep shoulders relaxed — a high crown works best with balanced neck and shoulder posture.
#15 Chic Curly Bob with Textured Ends
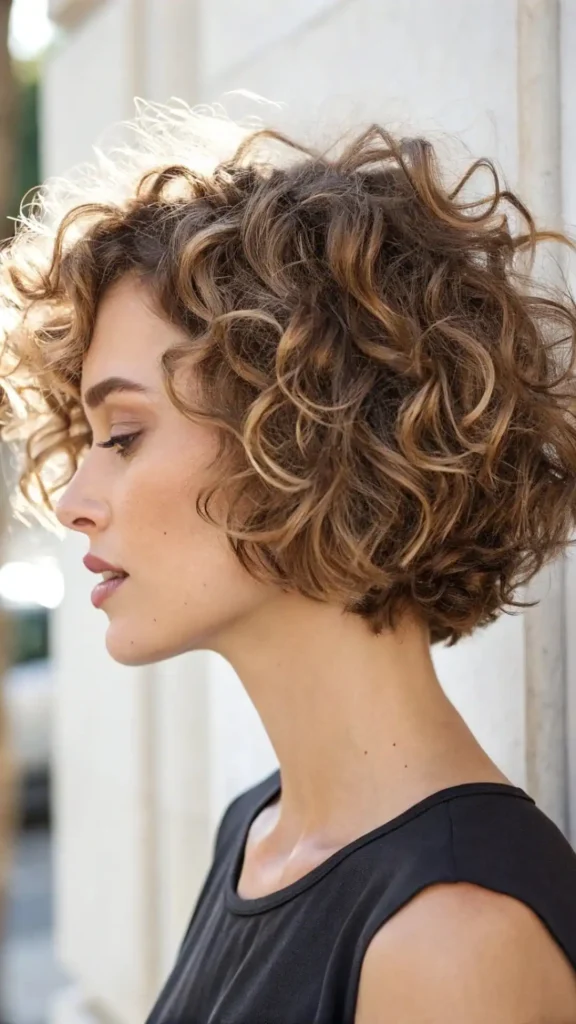
Why it works: A short cut with textured ends looks modern and keeps care quick and simple.
What you need: light texturizer cream, diffuser, regular trims.
Steps:
- Ask for a bob with slightly tapered, textured ends.
- Style damp with a touch of texturizer cream and diffuse to set shape.
- Maintain regular trims every 6–8 weeks to keep the ends lively.
Tip: Short styles show shape quickly — book a quick trim if the ends start to look heavy.
Face-framing curly cuts are about two things: shape and care. Shape comes from the cut (layers, bangs, fringe) and care comes from using the right products and drying techniques for your curl type. I always recommend a consultation with a stylist who understands curls — bring a picture from this post and tell them what you like about the shape.
If you try one of these looks, start with small changes. A soft fringe or a few layers can show you whether you love a new silhouette before you commit to a big chop. And remember — healthy curls start with moisture, gentle handling, and trims that keep the shape fresh.
Want more? Follow us on Instagram for styling videos and tag us so we can see your new face-framing curls. Let’s make every day a great hair day!
