


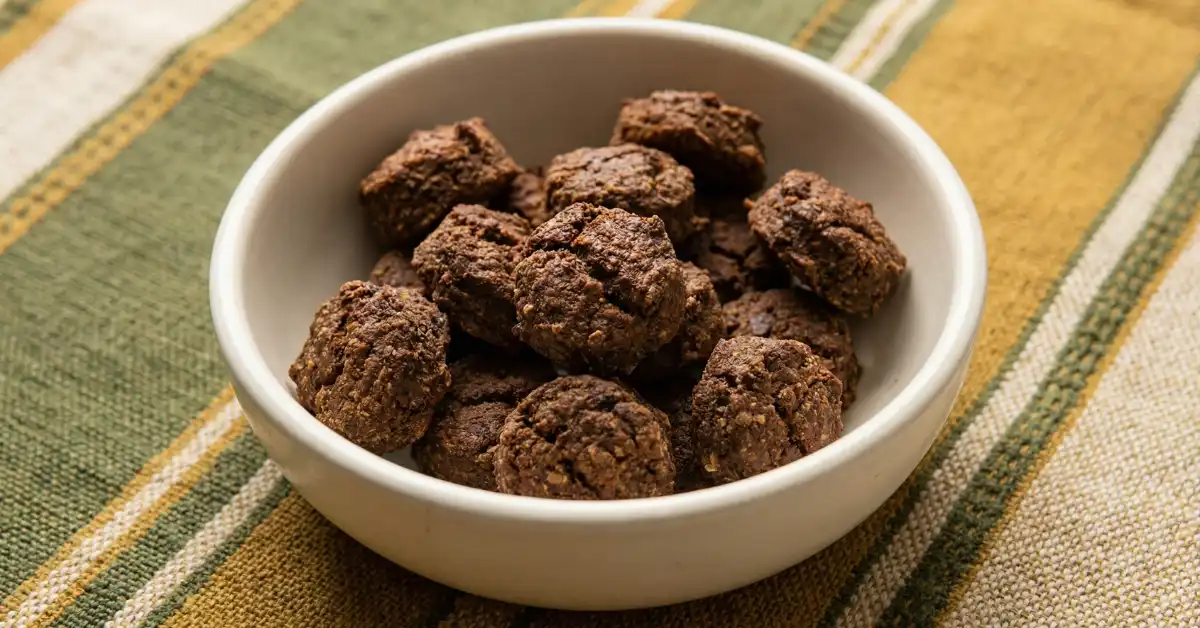
I’m so happy to share this Chicken Liver Cat Treat Bites recipe, because it turns simple ingredients into a soft, tasty reward many cats love. These treats use cooked chicken liver, a whole egg, and a small amount of flour, with no added sugar or strange fillers. I like that I can make them at home and know exactly what goes into each bite. The dough is easy to work with and can be shaped small for cats. Because liver is rich, these treats are best given in moderation.
When I make treats for my cat, I want them to smell good, taste exciting, and still feel safe. Chicken liver always gets attention right away, so this recipe quickly became a favorite in my kitchen. The soft texture makes these bites easy to chew, especially for cats who prefer gentler treats.
What makes this recipe special is how simple it is. The liver brings strong flavor, the egg helps everything hold together, and the flour gives just enough structure to bake well. I can cut the treats very small, which helps with portion control.
Here are a few reasons this recipe works well:
- Simple, easy to find ingredients
- No added sugar or artificial flavors
- Soft texture that many cats enjoy
- Easy to portion into small bites
Liver treats are rich and should only be fed sometimes. Please talk to your vet about what is safe and appropriate for your cat, especially if your cat has health issues or special dietary needs.
How to Make Chicken Liver Cat Treat Bites
- Cook the chicken liver until fully done.
- Blend the liver into a smooth mixture.
- Mix the liver with the egg and flour.
- Stir until a soft dough forms.
- Shape or cut the dough into small pieces.
- Bake until firm and lightly golden.
- Cool completely before serving.
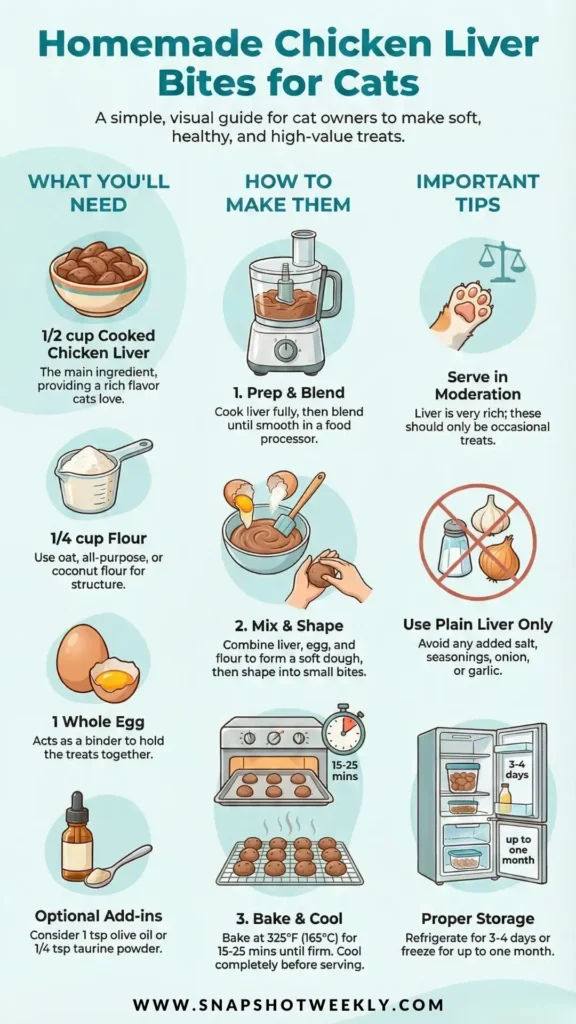
Ingredients
- 1/2 cup cooked chicken liver, finely chopped or pureed
- 1/4 cup oat flour (or all purpose flour or coconut flour)
- 1 egg
Optional add ins (choose 1 or 2):
- 1 teaspoon olive oil (for easier handling and a glossy finish)
- 1/4 teaspoon taurine powder (an essential amino acid for cats)
Directions
- Preheat your oven to 325°F (165°C). Line a baking sheet with parchment paper.
- Cook the chicken liver by pan frying in a non stick pan without oil or by poaching in boiling water for about 5 to 10 minutes, until fully cooked.
- Let the liver cool slightly, then place it in a food processor or blender. Blend until smooth, adding the optional olive oil and taurine if using.
- Transfer the liver mixture to a bowl. Add the egg and flour, then stir until a soft, even dough forms.
- If the dough feels too sticky, add a small sprinkle of flour. It should be soft but easy to handle.
- Shape the dough into small nugget sized balls, or roll it out to about 1/4 inch thick and cut into tiny squares.
- Place the pieces on the baking sheet and bake for 15 to 25 minutes, until firm and slightly golden.
- Remove from the oven and let the treats cool completely before giving any to your cat.
Process Details
- The dough should feel soft and slightly moist, not wet or crumbly.
- Smaller pieces bake faster and are safer for cats to chew.
- Thicker pieces stay softer inside, while thinner ones firm up more.
- A rolling pin and knife or small cutter make shaping easier.
- Treats are done when they feel set and no longer squishy in the center.
Tips for Success
- Use plain chicken liver with no seasoning, salt, onion, or garlic.
- Keep treat sizes small to avoid overfeeding.
- Liver is rich, so offer these only as occasional treats.
- Stick to the ingredient amounts provided.
- If using taurine or other supplements, confirm amounts with your vet.
- Watch your cat closely the first time they try these treats.
Serving Ideas
- Offer one or two small bites as a reward.
- Break treats into tiny pieces for training or bonding time.
- Use as a special snack during play sessions.
- Serve on special days like birthdays or adoption anniversaries.
- Adjust portion size based on your cat’s size and regular diet.
Storage & Freezing
- Store treats in an airtight container.
- Keep in the refrigerator for up to 3 to 4 days.
- Freeze for up to one month for longer storage.
- Thaw frozen treats in the refrigerator before serving.
- Discard treats that smell off, look moldy, or feel slimy.

These Chicken Liver Cat Treat Bites are a simple way to make something special at home using ingredients you can recognize. I enjoy knowing I am giving my cat a homemade reward made with care and attention.
- Change the shapes to keep treat time fun.
- Bake a little longer for firmer bites if needed.
- Share with other cats only if their vets approve.
Making treats like this is a small but meaningful way to show love and strengthen the bond you share with your cat.


