


I’m so happy to share this simple skin and coat cat cookie recipe because it uses a few clear ingredients and stays easy to make at home. These cookies are firm and crunchy, more like tiny crackers that many cats enjoy nibbling. Sardines provide natural fats, and coconut oil adds a gentle richness without extra seasonings. I like that everything is mixed in one bowl and baked in a short time. There are no artificial colors or flavors, just basic foods prepared with care.
I first made these cookies when I wanted a homemade treat that felt a little special but still simple. I liked knowing exactly what went into each bite and keeping the ingredient list short.
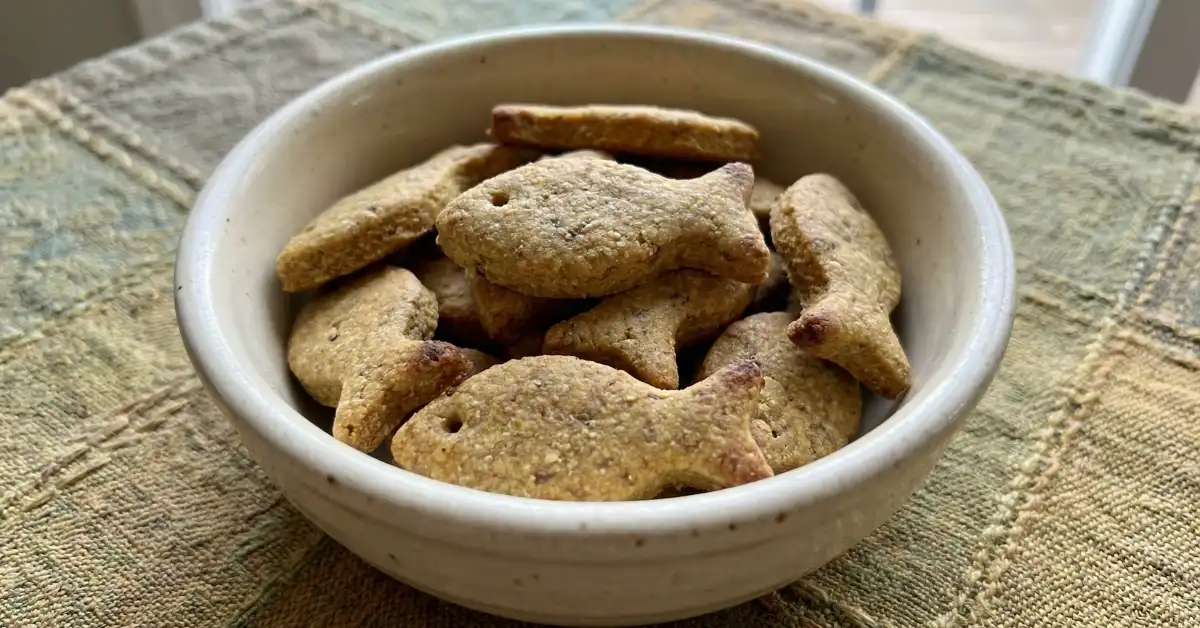
What makes these cookies stand out is their firm texture and fishy smell, which many cats find very tempting. They bake up crisp as they cool, so they can be broken into small pieces for easy feeding.
These cookies are meant as an occasional treat, not a full meal. I keep portions small and watch how my cat reacts the first time.
Key benefits:
- Made with simple, familiar ingredients
- No added sugar, salt, or artificial flavors
- Firm texture that stores well in the fridge
- Easy to break into small cat sized pieces
Please talk to your vet about what is safe and appropriate for your cat, especially if your cat has allergies or skin concerns.
How to Make Skin & Coat Cat Cookies
- Preheat the oven and prepare a baking sheet.
- Mash the sardines until smooth.
- Mix the sardines with the egg and coconut oil.
- Slowly add flour until a soft dough forms.
- Roll the dough out and cut into small pieces.
- Bake until firm and lightly browned.
- Let the cookies cool fully before serving.
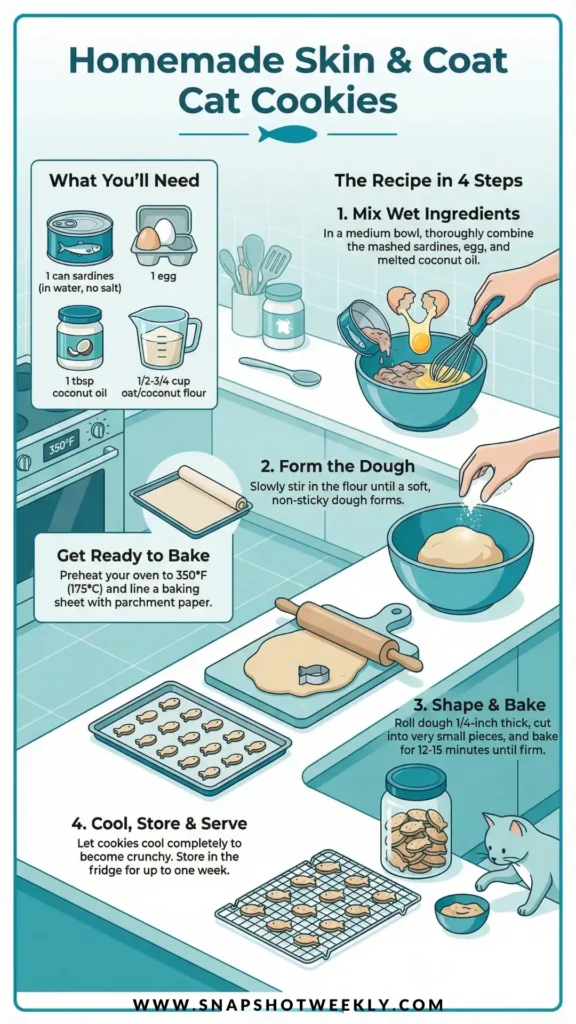
Ingredients
- 1 can sardines packed in water (drained and mashed well, no added salt)
- 1 large egg
- 1 tablespoon coconut oil (melted, plain)
- 1/2 to 3/4 cup oat flour or coconut flour (amount varies based on texture)
Directions
- Preheat your oven to 350°F (175°C) and line a baking sheet with parchment paper. This helps prevent sticking.
- Add the mashed sardines, egg, and melted coconut oil to a medium bowl. Mix until everything looks evenly combined.
- Slowly stir in the oat flour or coconut flour. Keep mixing until the dough starts to hold together.
- The dough should feel soft but not sticky. If it feels too wet, add a little more flour. If it feels dry, mix gently until smooth.
- Roll the dough out to about 1/4 inch thick on a lightly floured surface. Cut into very small, bite sized pieces.
- Place the pieces on the prepared baking sheet. Bake for 12 to 15 minutes until the cookies are firm and lightly browned.
- Remove from the oven and let the cookies cool completely on the tray. They will become crisp as they cool.
- Make sure the cookies are fully cool before offering any to your cat to avoid mouth burns.
Process Details
- The dough should be easy to roll and not crack at the edges.
- Thinner cookies will bake faster and be crunchier.
- A rolling pin and small cutter help keep sizes even.
- Very small shapes are safest and easiest for cats to eat.
- Cookies are done when they feel firm to the touch and no longer soft in the center.
Tips for Success
- Always check labels to be sure sardines are packed in water with no seasoning.
- Use plain coconut oil with no added flavor.
- Keep cookie sizes very small for cats.
- These are treats, so offer only a few at a time.
- For extra crunch, roll the dough slightly thinner before baking.
- Do not add new ingredients without checking with your vet first.
Serving Ideas
- Break into tiny pieces as a reward treat.
- Offer one piece after grooming or nail trimming.
- Crumble a small bit over regular cat food as a topper.
- Use for special moments like birthdays or adoption days.
- Adjust portions based on your cat’s size and daily diet.
Storage & Freezing
- Store cookies in an airtight container in the refrigerator for up to one week.
- Keep them dry and sealed to maintain their crunch.
- These cookies can be frozen for longer storage if needed.
- Thaw frozen cookies in the fridge before serving.
- Discard any treats that smell off, look moldy, or feel sticky.

These skin and coat cat cookies are a simple way to offer a homemade treat using basic ingredients you can recognize. I enjoy making them because they feel thoughtful and personal without being complicated.
Optional ideas:
- Cut the dough into different small shapes for variety.
- Roll thinner for a crunchier texture or slightly thicker for a firmer bite.
- Share with other cats only if their vets approve.
- Watch your cat closely the first time they try these treats.
Making something at home for your cat can be a small but meaningful way to show care and strengthen your bond.


