


I’m so happy to share this simple homemade cat cookie recipe because it uses easy, cat safe ingredients that many cats already love. These cookies are made with tuna, egg, and oat flour, which give a strong savory smell and taste that cats enjoy. I like that everything is baked at home so I know exactly what goes into each bite. There is no added salt, sugar, or seasoning that could upset a cat’s tummy. The cookies are small, firm, and easy to portion for treats.
The first time I made these cookies, my cat came running as soon as the tuna was opened. I wanted something homemade that felt special but was still simple and safe. This recipe gave me that without any stress.
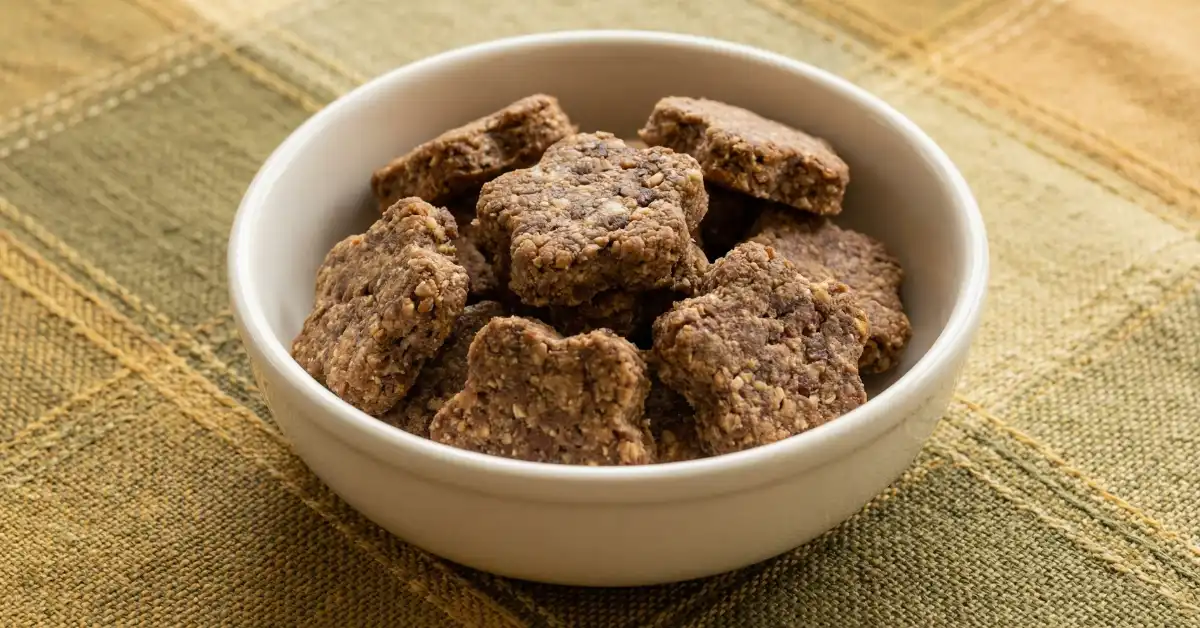
These cookies are lightly crisp on the outside and firm enough to hold their shape. The tuna smell really grabs a cat’s attention, and the texture works well for small bites. I also like that I can make them in fun shapes or simple squares.
Why I like this recipe:
- Uses common, cat safe pantry items
- No added salt, sugar, or artificial flavors
- Easy to bake and easy to store
- Strong smell that many cats enjoy
Every cat is different, especially with allergies or health needs. Please talk to your vet about what is safe and appropriate for your cat before offering new treats.
How to Make Mixed Meaty Cat Cookies
- Preheat the oven and prepare a baking sheet
- Mix the tuna, egg, and oil until smooth
- Stir in the flour and optional catnip
- Add a little water if the dough feels too dry
- Roll out the dough and cut into small pieces
- Bake until firm and lightly browned
- Let the cookies cool fully before serving
Ingredients
- 1 can (5 oz or 142 g) tuna packed in water, drained (plain, no added salt)
- 1 large egg
- 1 cup oat flour
- 1 tablespoon olive oil (optional, helps with moisture)
- 1 tablespoon dried catnip (optional)
- Water, as needed (about 1 to 2 tablespoons)
Directions
- Preheat your oven to 350°F (175°C) and line a baking sheet with parchment paper. Set it aside so it is ready.
- Place the drained tuna, egg, and olive oil into a bowl or food processor. Mash or blend until everything looks evenly mixed.
- Add the oat flour and dried catnip if you are using it. Stir slowly until a thick dough forms.
- If the dough feels crumbly or too dry, add water one tablespoon at a time. Stop as soon as the dough holds together.
- Roll the dough out to about 1/4 inch thick on a lightly floured surface. Cut into small, bite sized pieces using a knife or cookie cutter.
- Place the pieces on the baking sheet with a little space between them. Bake for about 10 to 15 minutes, until they look lightly browned and feel firm.
- Remove the tray from the oven and let the cookies cool completely on a rack. This helps them firm up more.
- Only serve once fully cool so your cat does not burn their mouth.
Process Details
- The dough should feel soft but not sticky. If it sticks, sprinkle a little more flour on the surface.
- Thinner cookies bake faster and turn crisp more quickly. Thicker ones stay a bit softer inside.
- A rolling pin helps keep the thickness even, but you can also press the dough flat with clean hands.
- Keep pieces small so they are easy for cats to chew.
- Cookies are done when they feel firm to the touch and no longer look wet on top.

Tips for Success
- Always check labels to be sure tuna is packed in water with no added salt.
- Skip the catnip if your cat does not react well to it.
- These are treats, not meals, so offer small amounts.
- Break larger cookies into tiny pieces for smaller cats.
- Do not add seasoning, onion, garlic, sugar, or sweeteners.
- If your cat has health issues, talk with your vet before making changes.
Serving Ideas
- Offer one or two small cookies as a special treat
- Break into tiny bits for training or bonding time
- Serve after playtime or grooming as a reward
- Use as an occasional topper, crumbled very lightly
- Adjust portions based on your cat’s size and diet
Storage & Freezing
- Store cookies in an airtight container in the refrigerator.
- They stay fresh for up to one week when chilled.
- You can freeze them in a sealed container for longer storage.
- Thaw in the fridge before serving, not at room temperature.
- Throw away any cookies that smell odd, look moldy, or feel slimy.

Mixed Meaty Cat Cookies are a fun way to treat your cat with something homemade and simple. I enjoy knowing what goes into each cookie and watching my cat get excited at treat time. Making food for your cat can feel rewarding and helps build a stronger bond.
- Change shapes or sizes for variety
- Bake a little longer for a firmer texture
- Watch your cat closely the first time they try them
Sharing a homemade treat is a small but loving way to care for your cat every day.


