


I’m so happy to share this frozen tuna popsicle recipe because it uses only tuna and water to make a cool, simple treat for cats. This recipe turns water packed tuna into a smooth, frozen snack that many cats enjoy licking. It is homemade, very easy to prepare, and skips unnecessary additives. I like that it also adds a little extra hydration, which can be helpful in warm weather. These popsicles are meant as an occasional treat, not an everyday food.
The first time I made frozen tuna popsicles, it was a warm day and my cat seemed less interested in regular snacks. When I set one of these in the bowl, curiosity kicked in fast. The cold surface and fishy smell made it fun and different.
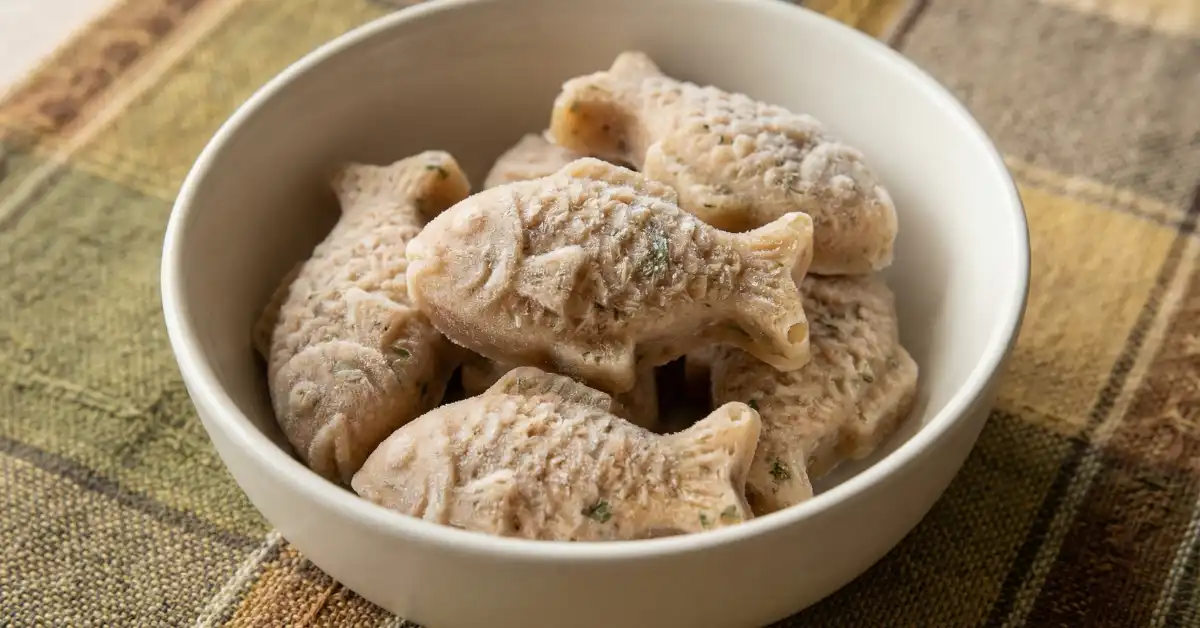
What makes this recipe special is how gentle and simple it is. There are no chunks to chew and no hard edges. Cats can slowly lick the surface as it melts, which many seem to enjoy.
I also like that it uses items most people already have at home. A can of tuna, some water, and a freezer are all you need.
Key benefits:
- Very simple ingredient list
- Adds moisture to your cat’s routine
- No added sugar, salt, or fillers
- Easy to portion into small treats
Please talk to your vet about what is safe and appropriate for your cat, especially if your cat has allergies or health concerns.
How to Make Frozen Tuna Popsicles for Cats
- Open and prepare the tuna.
- Blend the tuna with extra water until smooth.
- Pour the mixture into molds.
- Freeze until fully solid.
- Let thaw slightly before serving.
- Store extra treats in the freezer.
Ingredients
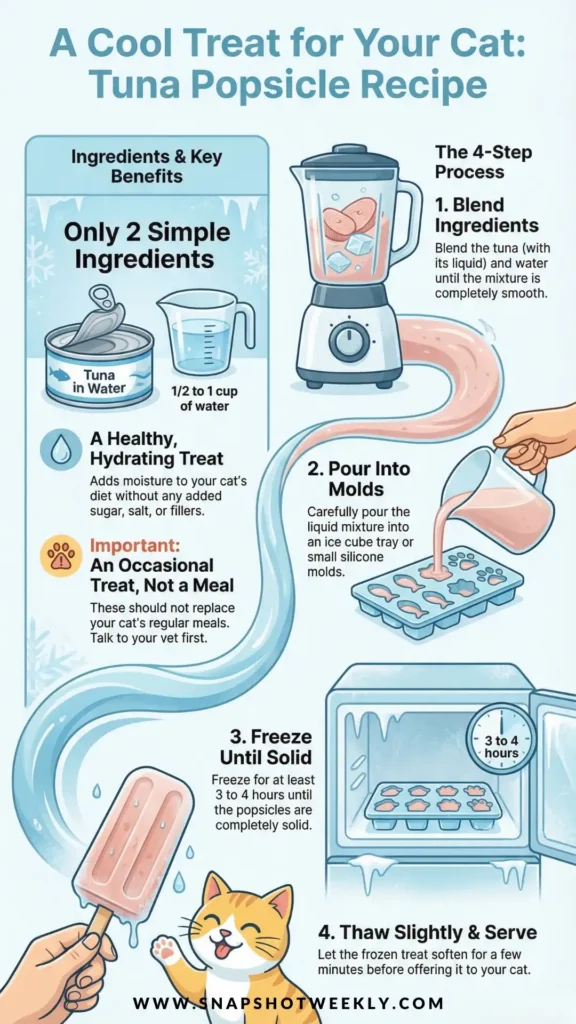
- 1 can (5 oz or 6 oz) tuna packed in water (low sodium, not in oil or brine)
- 1/2 to 1 cup water (bottled or tap)
Directions
- Open the can of tuna and pour the tuna and the liquid from the can into a blender or food processor.
- Add 1/2 cup of water to start. Blend until the mixture looks smooth and easy to pour.
- If the mixture seems thick, add a little more water until it becomes thin and liquid.
- Carefully pour the mixture into an ice cube tray or silicone molds. Fill each space evenly.
- Place the filled molds in the freezer.
- Freeze for at least 3 to 4 hours, or until the popsicles are completely solid.
- Remove one or two popsicles from the mold and place them in your cat’s bowl.
- Let the frozen treat thaw for a few minutes so your cat can safely lick it without hurting their mouth.
Process Details
- The mixture should be fully smooth with no large chunks.
- Thinner liquid freezes more evenly and is easier for cats to lick.
- Smaller mold sizes help with portion control.
- Letting the popsicle soften slightly makes it safer and more appealing.
- Always supervise your cat the first few times.
Tips for Success
- Always choose tuna packed in water, not oil.
- Check labels to avoid added salt, onion, or garlic.
- Keep portions small since tuna is rich.
- These treats should be offered only occasionally.
- Do not replace regular meals with frozen treats.
- Talk to your vet if your cat has kidney issues or dietary limits.
Serving Ideas
- Offer one small popsicle as a warm weather treat.
- Let your cat lick it slowly as it melts.
- Break a cube into smaller pieces for smaller cats.
- Serve after playtime or grooming.
- Adjust how often you serve based on your cat’s regular diet.
Storage & Freezing
- Store frozen popsicles in an airtight container or freezer bag.
- Keep in the freezer for up to one month.
- Do not refreeze once fully thawed.
- Texture stays best when kept frozen.
- Throw away any treats that smell odd or look discolored.

Frozen tuna popsicles are a simple and refreshing way to treat your cat using just two basic ingredients. Making them at home lets you control portions and avoid extras your cat does not need.
- Use smaller molds for better portion control.
- Allow more thaw time for gentle licking.
- Share only with cats whose vets approve.
- Watch your cat closely the first time they try frozen treats.
Small homemade treats like these can be a fun way to care for your cat and enjoy quiet moments together.


