


I’m so happy to share this soft salmon cat treat recipe, because it uses simple ingredients and makes tender little bites that many picky cats enjoy. These treats are made with salmon, egg, and oat flour, which come together into a gentle dough without extra fillers. I like that they are homemade and skip unnecessary additives or mystery ingredients. They bake quickly and stay soft when you are careful not to overcook them. This makes them great for cats who prefer a chewy texture over crunchy treats.
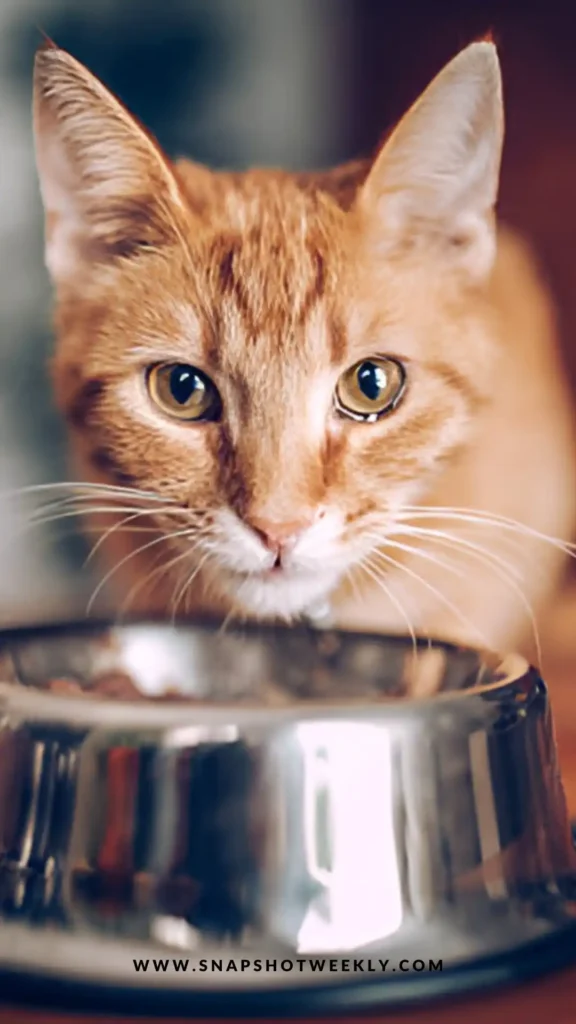
The first time I made these salmon treat bites, I wanted something soft and easy for my cat to chew. Some cats turn away from hard treats, so I was looking for a gentler option that still smelled and tasted exciting. Salmon turned out to be a big hit.
What makes this recipe special is the texture. The moisture from the salmon and the short baking time help keep the treats pliable instead of dry. Even fussy eaters often come running when they smell these in the oven.
I also enjoy how simple the ingredient list is. There are no strange extras, and everything is easy to recognize and prepare at home.
Key benefits:
- Simple ingredients with clear purpose
- Soft texture for cats who dislike crunchy treats
- No added sugar or artificial flavors
- Quick to make and easy to store
- Works well for training or special rewards
Please talk to your vet about what is safe and appropriate for your cat, especially if your cat has allergies or health concerns.
How to Make Soft Salmon Cat Treat Bites
- Preheat the oven and line a baking sheet.
- Prepare the salmon until it is finely mashed.
- Mix the salmon with the egg and oat flour.
- Adjust the mixture if it feels too dry.
- Shape into small, cat sized bites.
- Bake just until set and lightly golden.
- Cool fully before serving or storing.
Ingredients
- 1 can (6 oz) salmon, drained (boneless and skinless)
- 1 large egg
- 1/2 cup oat flour (made from ground old fashioned oats)
- Optional: 1 tablespoon dried catnip (for extra appeal)
Directions
- Preheat your oven to 350°F (175°C). Line a baking sheet with parchment paper so the treats do not stick.
- Place the drained salmon in a bowl or food processor. Mash or finely chop it until there are no large chunks.
- Add the egg and oat flour to the salmon. If using catnip, add it now.
- Mix everything together until a soft dough forms. If the mixture feels dry or crumbly, add a small amount of water and mix again.
- Scoop small amounts of dough and shape them into little balls or flat discs. Place them evenly on the prepared baking sheet.
- Bake for 10 to 15 minutes, until the treats are firm and lightly golden. Be careful not to overbake if you want to keep them soft.
- Remove the baking sheet from the oven and let the treats cool completely on the pan.
- Make sure the treats are fully cool before giving them to your cat to avoid mouth burns.
Process Details
- The dough should feel soft and slightly moist, not sticky or crumbly.
- Smaller treats bake more evenly and are easier for cats to eat.
- A food processor helps create a smoother texture, but hand mashing also works.
- Thicker treats may need the full baking time, while thinner ones cook faster.
- The treats are ready when they hold their shape and feel set on the outside.
Tips for Success
- Always check the salmon label and avoid added salt or seasonings.
- Keep treat sizes small so they are safe and easy for cats to chew.
- Do not overbake, as longer baking makes the treats harder.
- These are treats, not a meal, so offer them in moderation.
- Stick to the ingredients and amounts provided.
- Talk to your vet before making changes if your cat has dietary needs.
- Store properly since soft treats spoil faster than crunchy ones.
Serving Ideas
- Offer as a small reward during training or play.
- Break into tiny pieces for kittens or smaller cats.
- Use as a special treat during grooming time.
- Give on birthdays or adoption anniversaries.
- Adjust portions based on your cat’s size and daily food intake.
Storage & Freezing
- Store in an airtight container in the refrigerator for up to one week.
- Freeze extra treats in a sealed container for longer storage.
- Thaw frozen treats in the fridge before serving.
- Soft treats do not last as long at room temperature, so refrigeration is best.
- Discard any treats that smell sour, look moldy, or feel slimy.
These soft salmon cat treat bites are a great option for cats who prefer tender treats and strong fish flavor. Making them at home feels rewarding, and it is lovely to see your cat enjoy something you prepared with care.
- Shape the treats smaller or flatter to suit your cat.
- Bake a little less for extra softness if needed.
- Watch your cat the first time they try them.
- Share with other cats only if their vets approve.
Simple homemade treats like these can turn everyday moments into something special and help strengthen the bond you share with your cat.


