


I’m so happy to share this easy tuna cat treat recipe because it uses just two simple ingredients and cats truly love it. These treats are light, crunchy, and full of tuna flavor without any grains, gluten, or dairy. I like knowing exactly what goes into them, with no mystery fillers or extra additives. They are homemade, simple to prepare, and made with ingredients that are commonly safe for cats when used properly. This makes them a great little reward for training or special moments.
The first time I made these tuna treats, my cats hovered around the kitchen the whole time, trying to sneak little licks. I wanted something small and tasty that I could use as a reward, without leaving fish flakes all over the house. These treats solved that problem in a fun and tidy way.
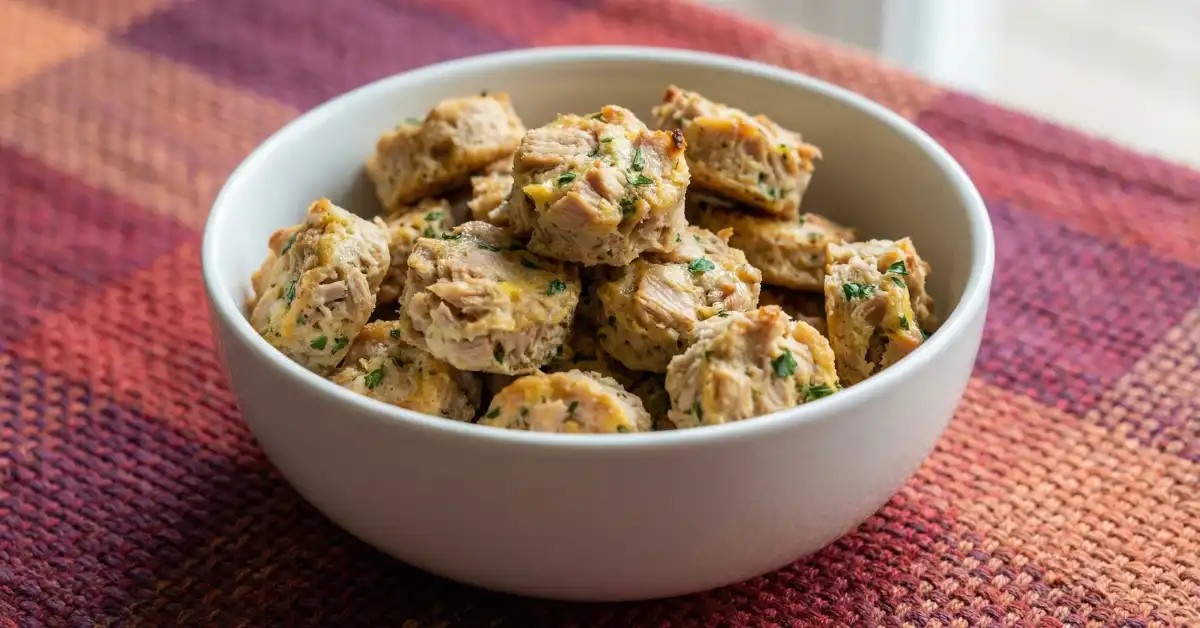
What makes this recipe special is the texture. The whipped egg white makes the treats light and airy, and baking them turns them into crunchy little bites once they cool. Even picky cats often get excited when they smell the tuna baking.
I also love how simple this recipe is. There are no grains, no dairy, and no added sugar or salt. It feels good to make something at home that is straightforward and honest.
Key benefits:
- Only two simple ingredients
- No grains, gluten, or dairy
- Crunchy texture cats enjoy
- Easy to make with basic tools
- No artificial flavors or fillers
Every cat is different, so please talk to your vet about what is safe and appropriate for your cat, especially if your cat has allergies or health concerns.
How to Make Easy Tuna Cat Treats
- Preheat the oven and prepare a baking sheet.
- Separate and whip the egg white until fluffy.
- Blend the tuna with a small amount of egg white until smooth.
- Gently fold the tuna mixture into the whipped egg white.
- Pipe small portions onto the baking sheet.
- Bake until dry and easy to lift from the paper.
- Cool completely before serving or storing.
Ingredients
- 1 large egg (use only the egg white)
- 1 tin tuna in spring water, thoroughly drained, about 120 g or 4 oz (not brine, no added salt)
Directions
- Preheat your oven to 170 C or 330 F. Line a baking sheet with greaseproof paper or baking parchment.
- Crack the egg and carefully separate the white from the yolk. Discard the yolk and place the egg white in a clean mixing bowl.
- Using a hand whisk or electric whisk, beat the egg white until stiff peaks form. This means it should hold its shape when you lift the whisk.
- Put the drained tuna into a blender. Add about two tablespoons of the whipped egg white and blend until the mixture becomes a smooth paste with no flakes.
- Spoon the tuna paste into the bowl with the remaining whipped egg white. Gently fold it together using a spatula, taking care not to knock out too much air.
- Transfer the mixture to a piping bag fitted with a small star nozzle. Pipe small rounds onto the lined baking sheet, keeping them bite sized.
- Bake for about 20 to 25 minutes, until the treats feel dry to the touch and lift easily from the paper.
- Move the treats to a wire rack and let them cool completely before giving them to your cat or storing them.
Process Details
- The mixture should feel light and fluffy, not runny. Gentle folding helps keep air in the mix.
- Smaller piped treats bake more evenly and are easier for cats to eat.
- A mini blender works well for making the tuna very smooth.
- The treats will feel a bit firmer after they cool, which is normal.
- They are done when they feel dry and no longer stick to the parchment.

Tips for Success
- Always use tuna in spring water, not brine, to avoid extra salt.
- Make sure all tools are clean and dry before whipping the egg white.
- Pipe small treats so they are safe and easy for cats to chew.
- These are treats, not a full meal, so offer them in small amounts.
- If your cat has food sensitivities, check with your vet before trying new treats.
- Let the treats cool fully so they reach their final crunchy texture.
Serving Ideas
- Offer one or two as a reward during training.
- Use them as a special snack after playtime.
- Break larger pieces into smaller bits for kittens.
- Serve on special days like birthdays or adoption anniversaries.
- Always adjust portions based on your cat’s size and daily food intake.
Storage & Freezing
- Store the cooled treats in an airtight container at room temperature for up to 2 weeks if kept cool and dry.
- For longer storage, keep them in the fridge to help them stay fresh.
- You can freeze the treats in a sealed container and thaw at room temperature before serving.
- Crunchy treats last best when kept away from moisture.
- Throw away any treats that smell off, look moldy, or feel sticky.
These easy tuna cat treats are a simple way to spoil your cat with something homemade and crunchy. I love how quick they are to make and how excited cats get when they smell them baking.
- Change the size of the piped treats to suit your cat.
- Bake slightly longer for extra crunch if needed.
- Watch your cat the first time they try them.
- Share with cat friends only if their vets approve.
Making treats at home is a small but meaningful way to show love, and those happy purrs make it all worth it.


